Facebook pixel, a piece of JavaScript code that allows you to measure, optimize, and build an audience for your campaign, allows you to monitor conversions by tracking actions as a result of an ad. Consider this the backbone of nearly all successful Facebook ads. It also allows you to market to those who interact with their website and to create a lookalike audience after the pixel has tracked a minimum of 100 conversions.
![]()
Benefits of the Facebook Pixel
In “What Is a Facebook Pixel,” I defined the term and showed you how to view the pixel on Facebook Business Manager, a tool frequently utilized by any Facebook marketing agency. In this article, I will show you how to create a Facebook Pixel for your website. Follow the steps below to create a Facebook Pixel.
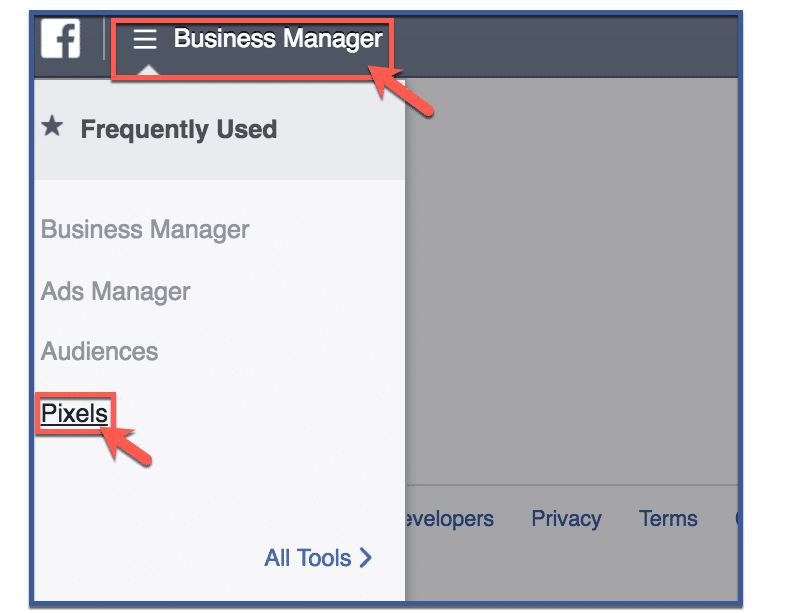
Step 1: Go to Pixel
To access your Facebook pixel, go to facebook.business.com. From the home page, click the “Business Manager” tab. On the drop down menu, click “Pixels“.
Step 2: Click “Create a Pixel”
You will then be redirected to your pixel page which will look like the image below. Click “Create a Pixel” to create your very own Facebook pixel.
![]()
Step 3: Click “Create Pixel”
Give your pixel a name. Afterward, click “Create Pixel“.
![]()
Step 4: You’re done!
Congratulations, you’ve created your Facebook pixel! Now that you’ve created a pixel, you have several options. You can email, share, or view the code. To view your pixel, follow the steps below.
View Pixel
Step 1: Click “Install Pixel Now”
Click “Install Pixel Now” to view your pixel code.
![]()
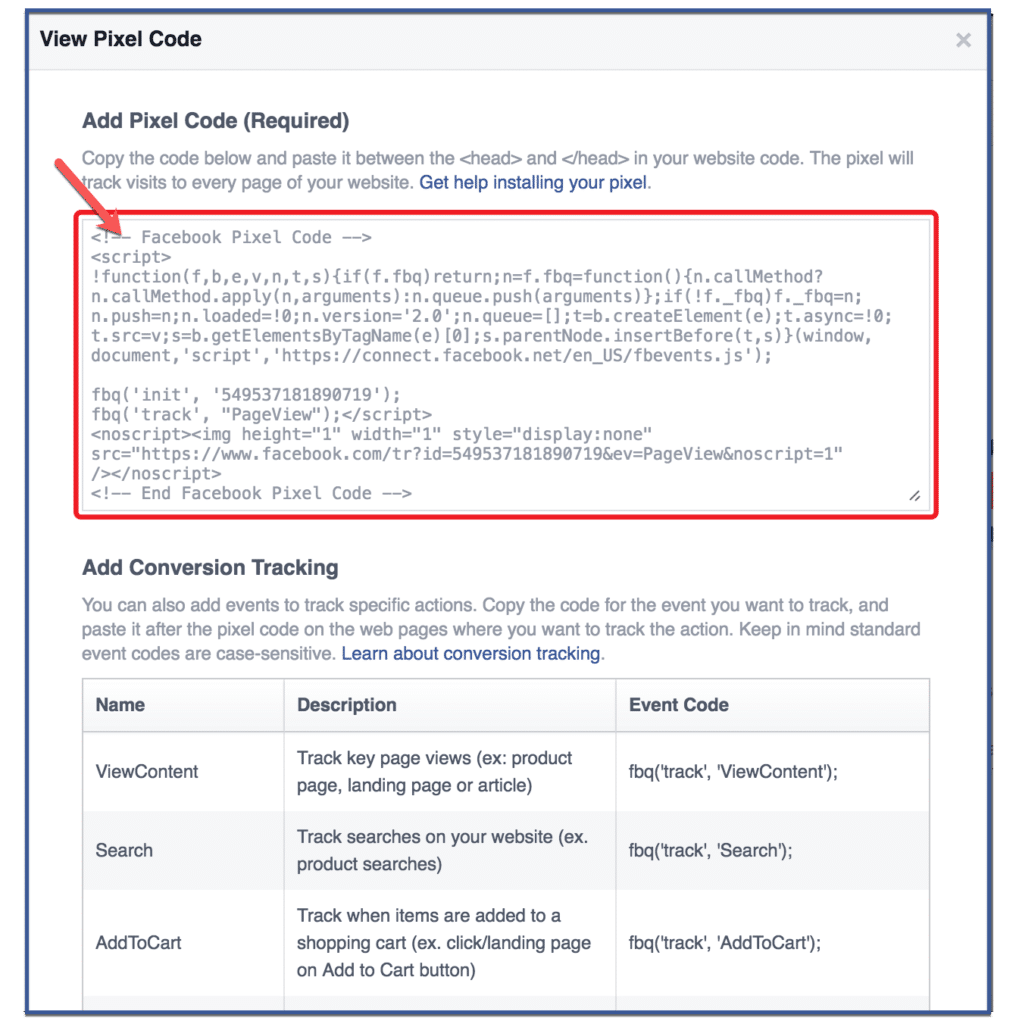
Step 2: Copy Code
Copy and paste the code between the <head> and </head> tags within your website code. This code will track visits to every page of your website.
Email Pixel
If you want to send someone your pixel code via email, follow the steps below. You can use this option if you would rather have your web developer paste the code into your website (not all of us are coding savvy, after all).
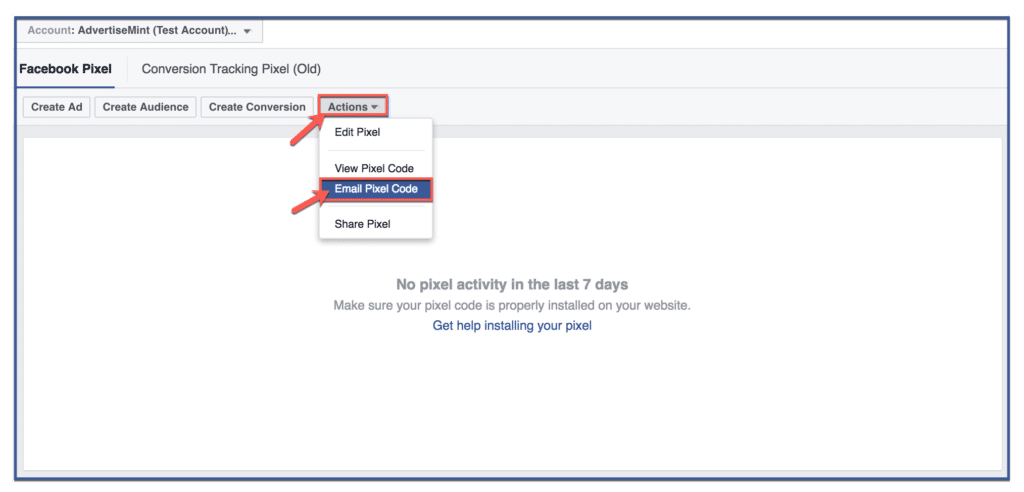
Step 1: Click “Actions” & “Email Pixel Code”
Click the “Actions” tab then “Email Pixel Code” on the drop down menu.
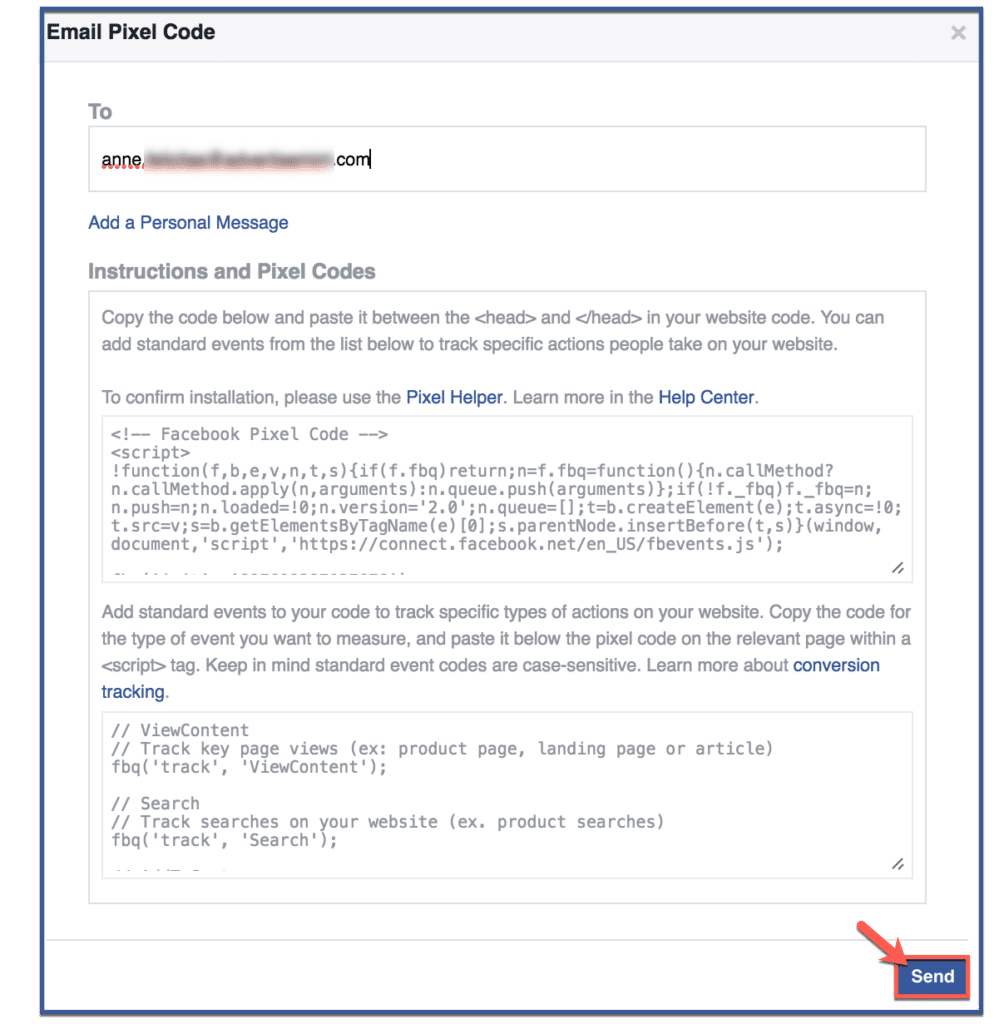
Step 2: Click “Send”
Type the recipient’s email then click “Send“.
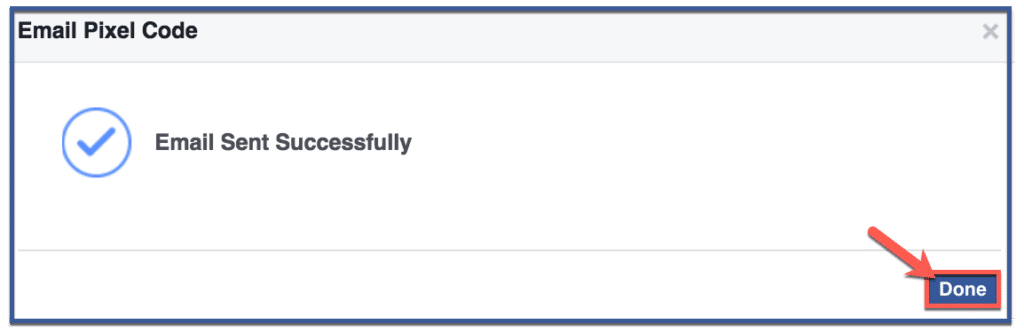
Step 3: Click “Done”
Afterward, click “Done” to finish.
Share Pixel
You can also share your pixel to the ad agency or partner of your choice. Follow the steps below to share your Pixel to a partner.
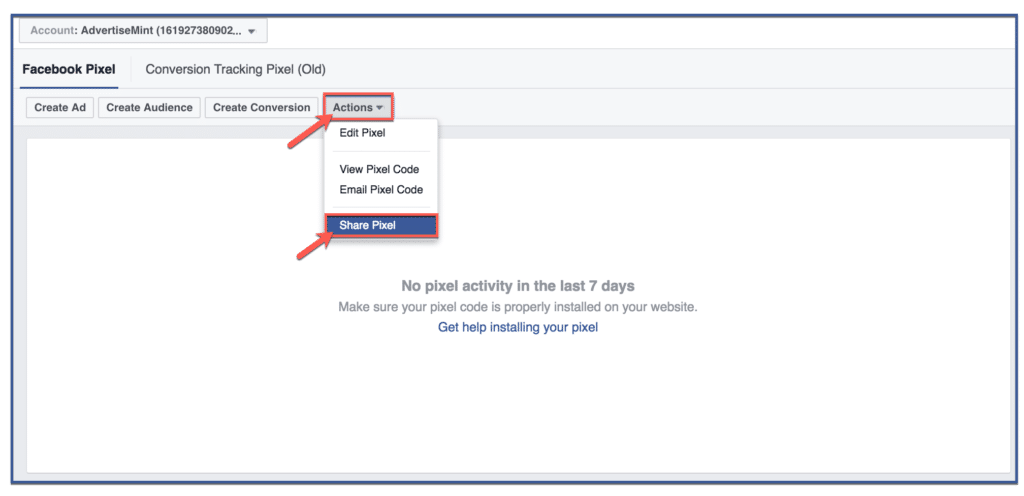
Step 1: Click “Actions” & Share “Pixel”
Click “Actions” then click “Share Pixel” on the drop down menu.
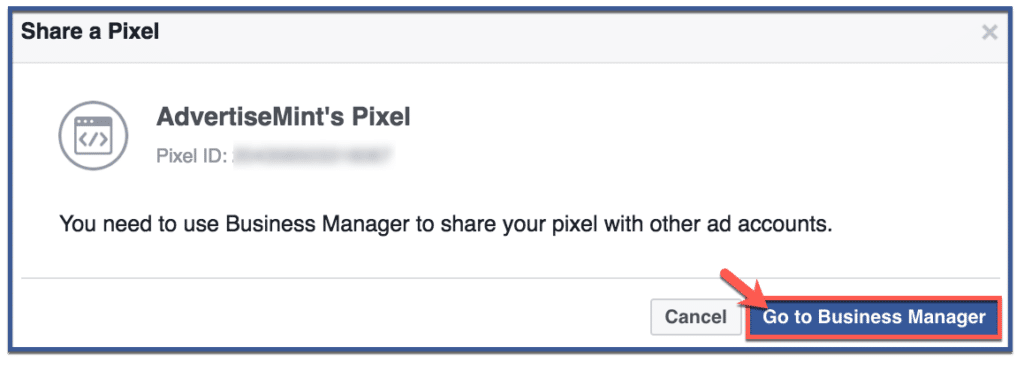
Step 2: Go to Business Manager
To share you pixel, you need to be in Business Manager. To go to Business Manager , click “Go to Business Manager“.
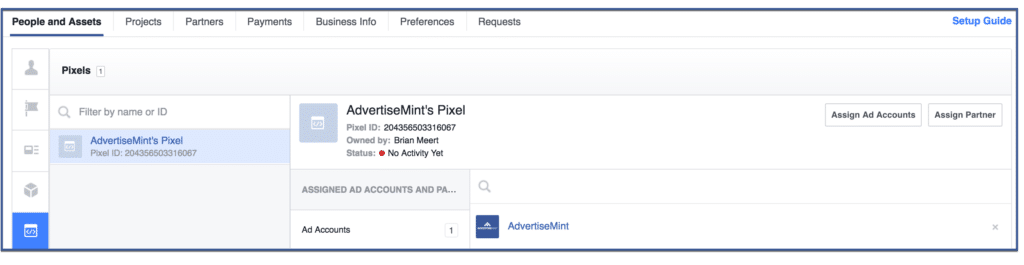
Step 3: Assign a Partner
Click “Assign Partner“.

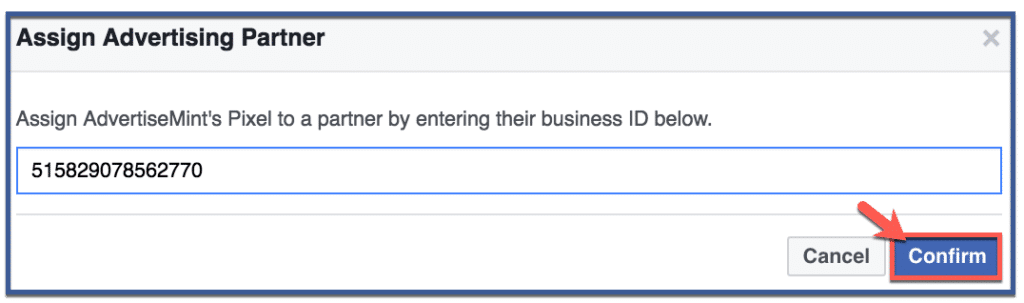
Step 4: Click “Confirm”
Enter your partner’s Business Manager ID (the same ID you used to add your partner to your Business Manager. Then click “Confirm“.
Step 5: You’re done!
The partner to whom you shared your pixel should appear here.
Edit Pixel
If you realized that you wanted to change your Pixel’s name or if you spotted an embarrassing typo you wanted to correct, you can edit your pixel in two easy steps. Follow the steps below to edit your pixel
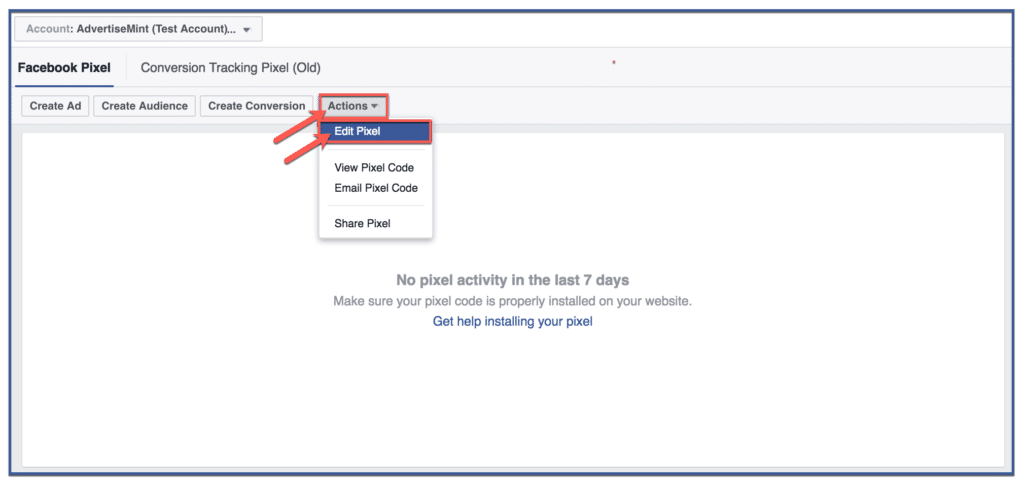
Step 1: Click “Actions” & “Edit Pixel”
Click the “Actions” tab then click “Edit Pixel” on the drop down menu.
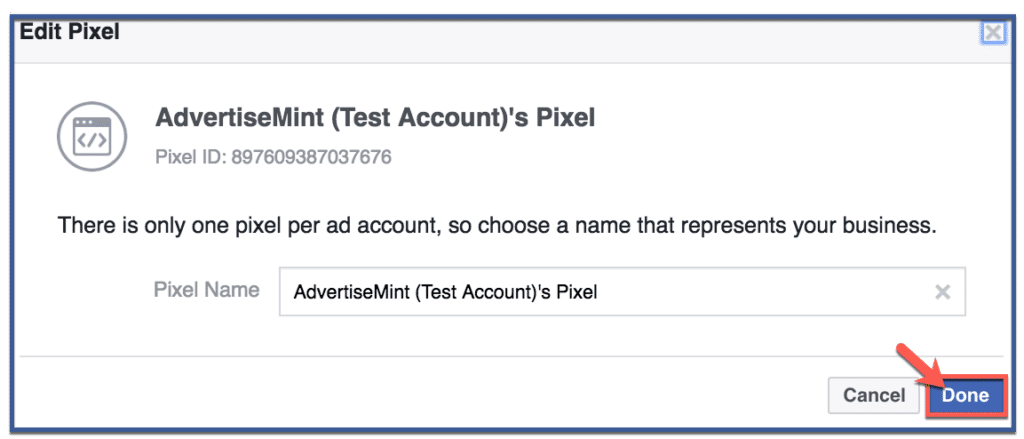
Step 2: Edit & Close
Edit the pixel name. Afterward, click “Done” to close the dialogue box.
Was this How To article about creating a Facebook pixel helpful and informative? Leave your thoughts on the comments section below!
Need help with your Facebook Ads campaign? Schedule a consultation today!
