On January 2017, MailChimp integrated Facebook advertising with its platform, allowing account holders to create Facebook ads in a process similar to creating ads in Business Manager. Five months later, MailChimp integrates Instagram advertising.
Creating Instagram ads in MailChimp is similar to creating Facebook ads. In fact, you can create Instagram and Facebook ads simultaneously. Here’s how you do it.
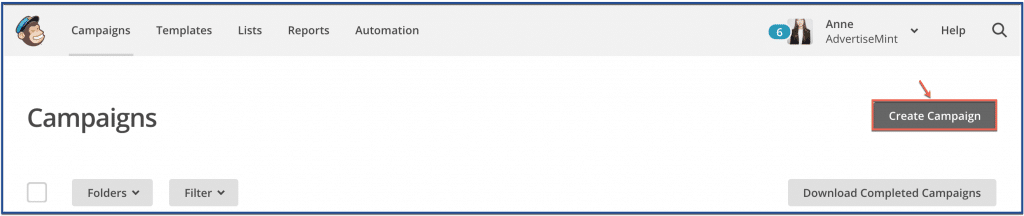
Step 1: Click “Create Campaign”
Click the “Create Campaign” button located on the upper-right corner of the screen.
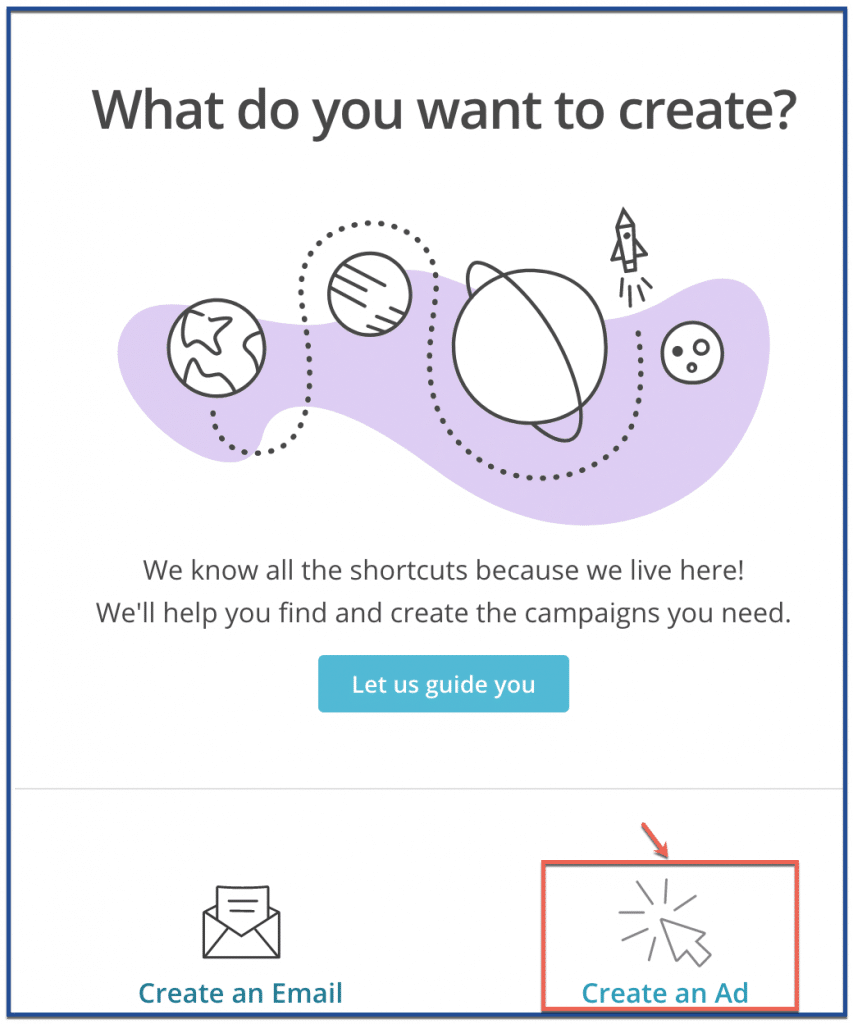
Step 2: Click “Create an Ad”
Click “Create an Ad.”
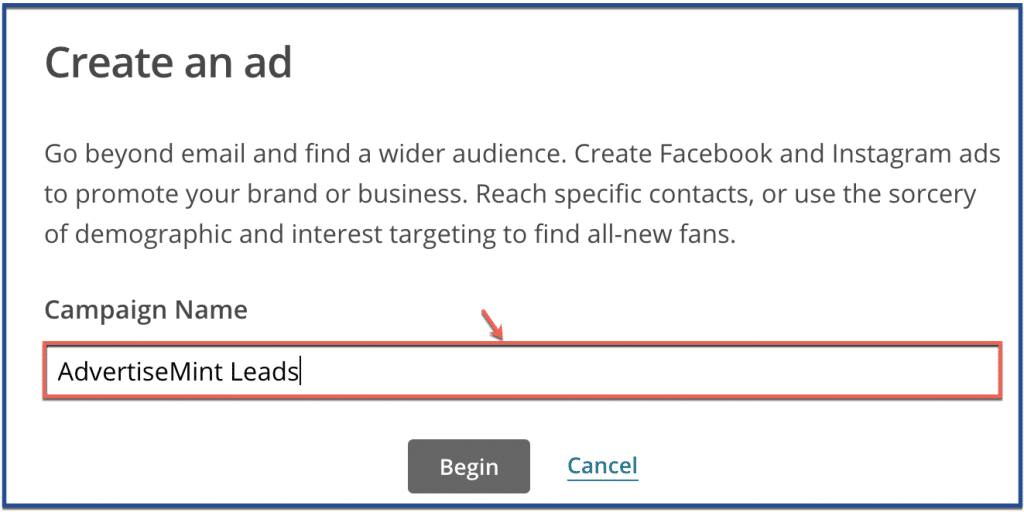
Step 3: Give your campaign a name
Give your campaign a name that will help you easily identify it in a list of other campaigns.
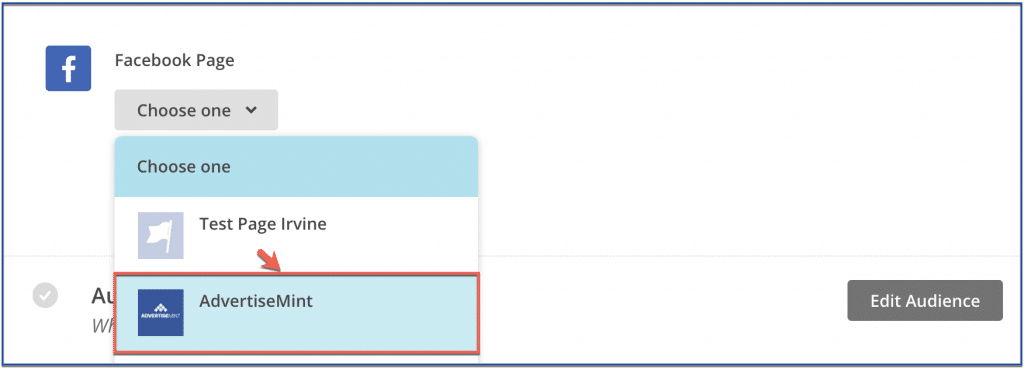
Step 4: Choose a Facebook page
Choose the Facebook page you want to advertise from.
Step 5: Choose an ad type
Here you can choose to create either a Facebook or an Instagram ad or both. Slide the toggle to the right for the ad type you want to create. Slide right for both if you want to create an Instagram and a Facebook ad simultaneously.
If you don’t have your Instagram account connected to your Facebook page, you will be unable to create an Instagram ad. To add an Instagram to your Facebook page, read “How to Add an Instagram Account to Your Facebook Page.”

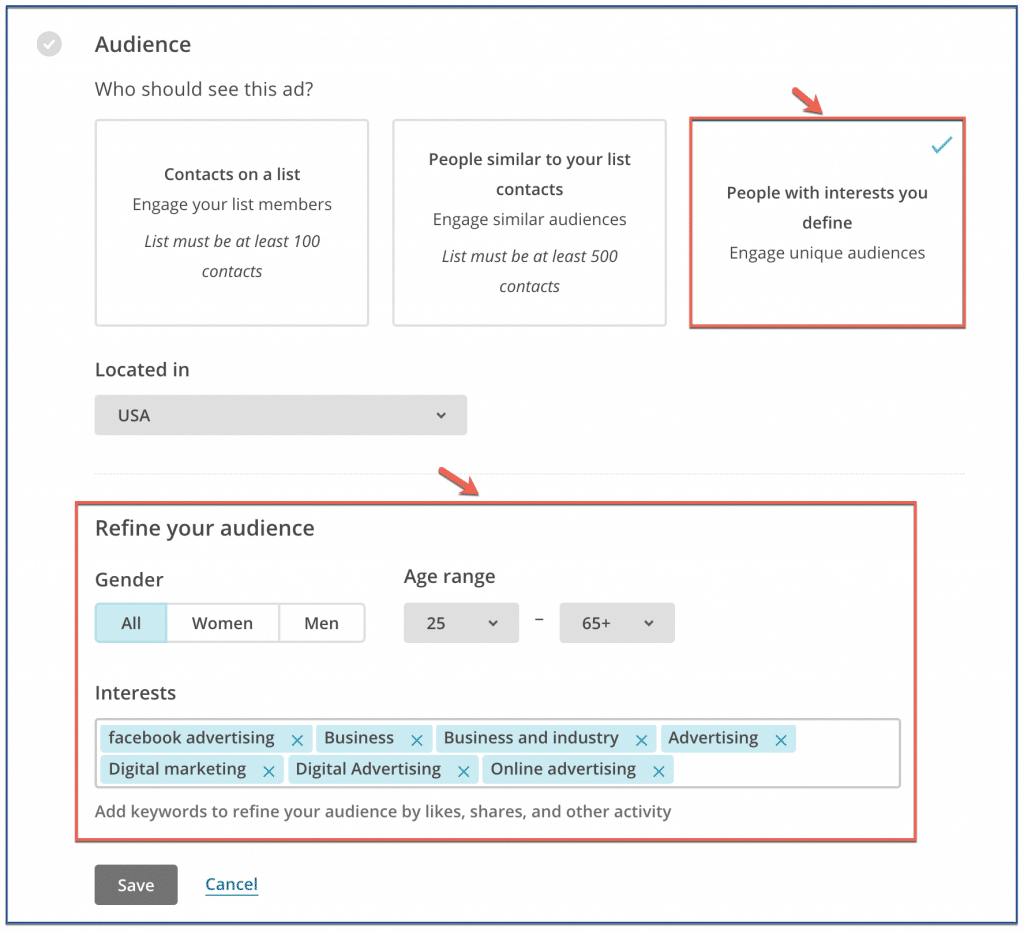
Step 6: Choose an audience
Choose your contact list as your audience to show your ad to people who are in your contact list.
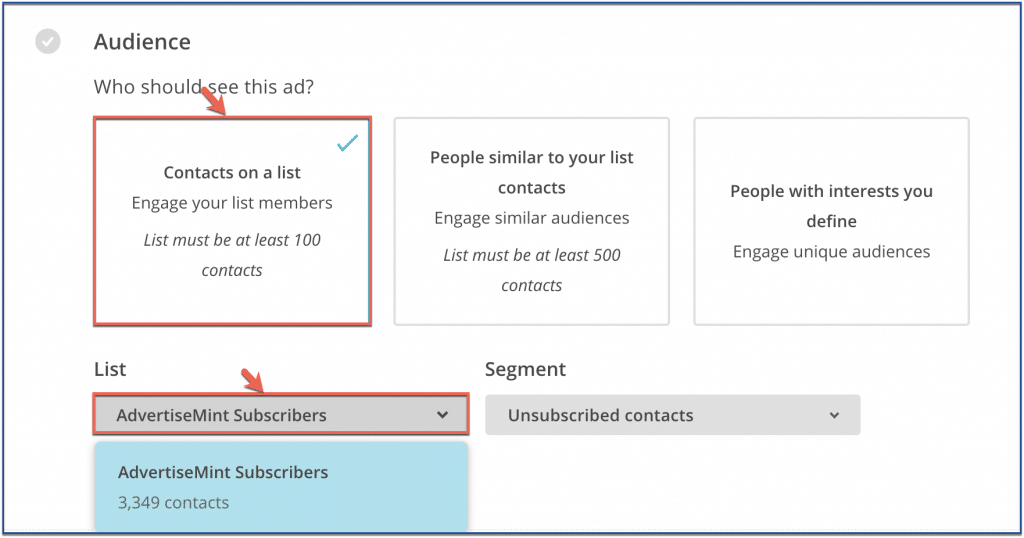
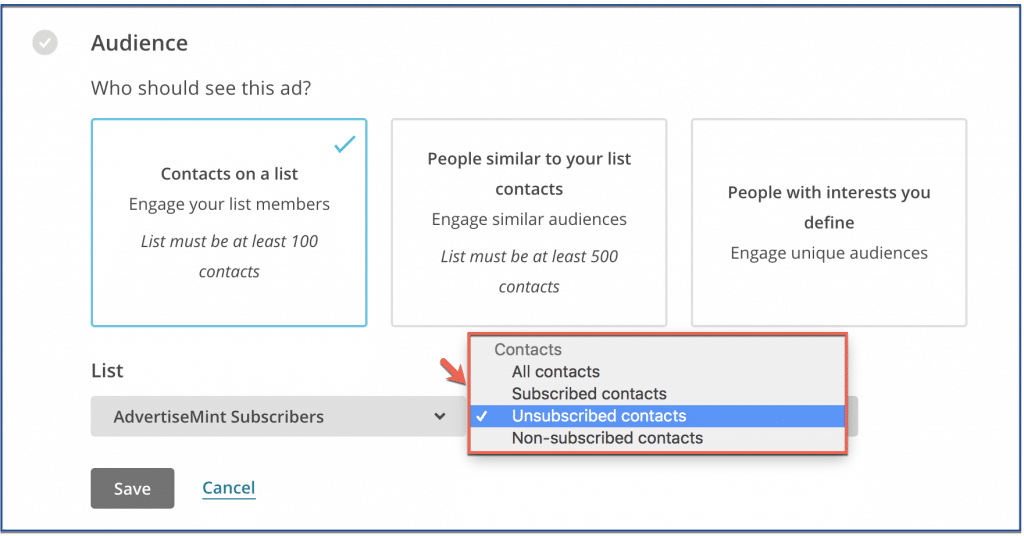
After you choose your list, choose your contact type. You can choose to show your ad to people who are subscribed, unsubscribed, or not subscribed.
Subscribed: If you want a higher chance of getting conversions, choose subscribed, high-interest customers who are already interested in your business.
Unsubscribed: If you want to draw the customers you lost back to your business, choose this option.
Not Subscribed: If you want to encourage customers to subscribe to your business, this is the best option.
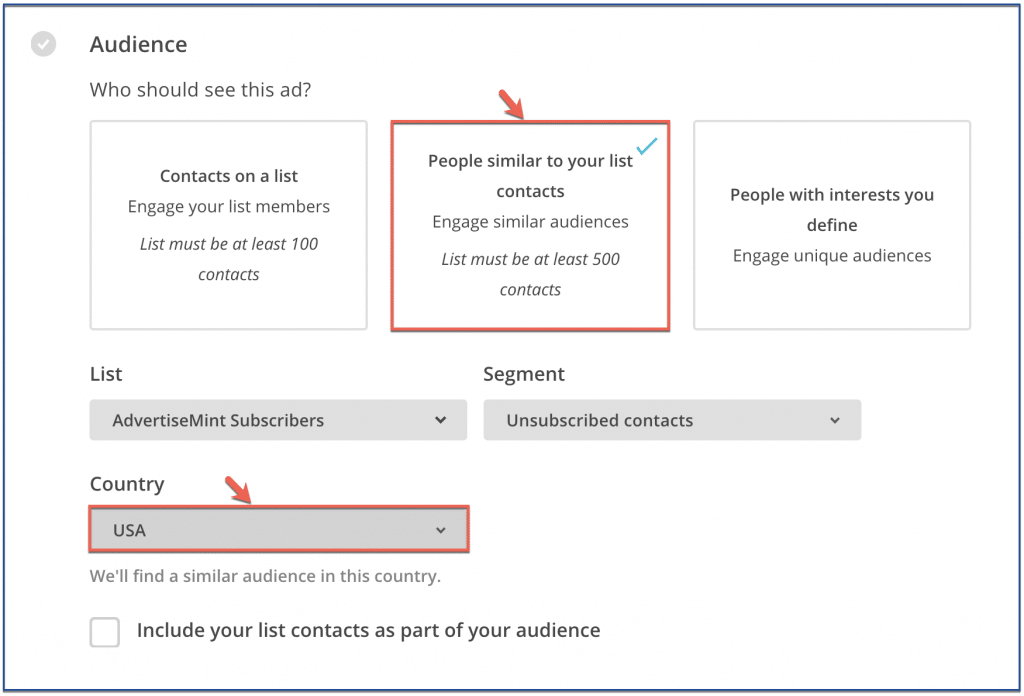
If, however, you want to expand your current customer list, then choose the option “People similar to your list contacts.” When you choose this, MailChimp will show your ad to people who share similar interests, behaviors, and demographics to your current customers from your contact list. With this option, you will need to choose the country you want your ad to appear in.
If you want to show your ad to an audience that isn’t in your contact list and that doesn’t share similarities to your current customers, then choose “People with interests you define.” With this option, you must define your audience’s gender, age, interests, and location.
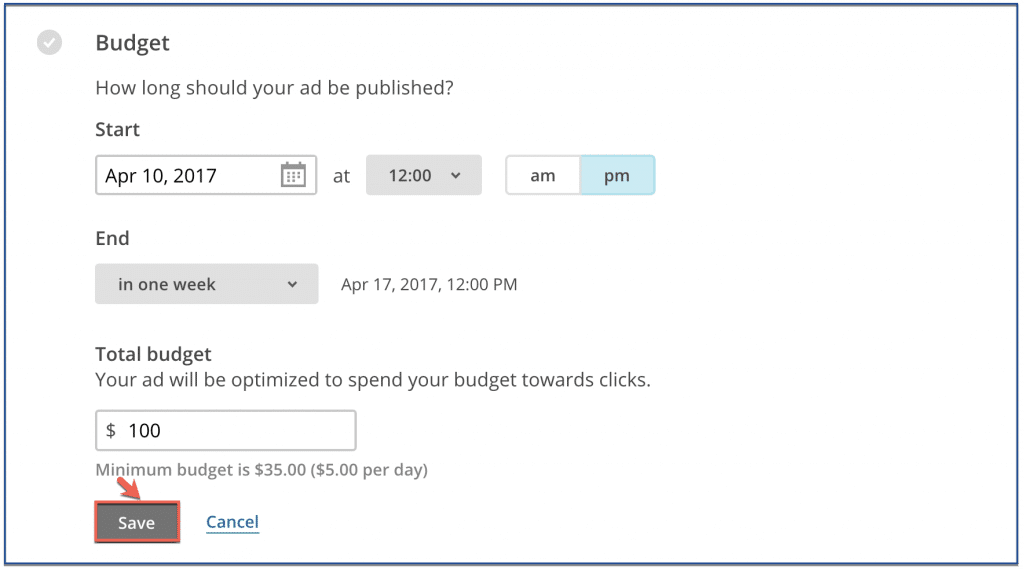
Step 7: Create your budget
First, set your schedule by choosing how long you want your ad to run. Next, indicate how much money you want to spend during your campaign. In the example below, the budget is set to a maximum of $100 for a week-long campaign.
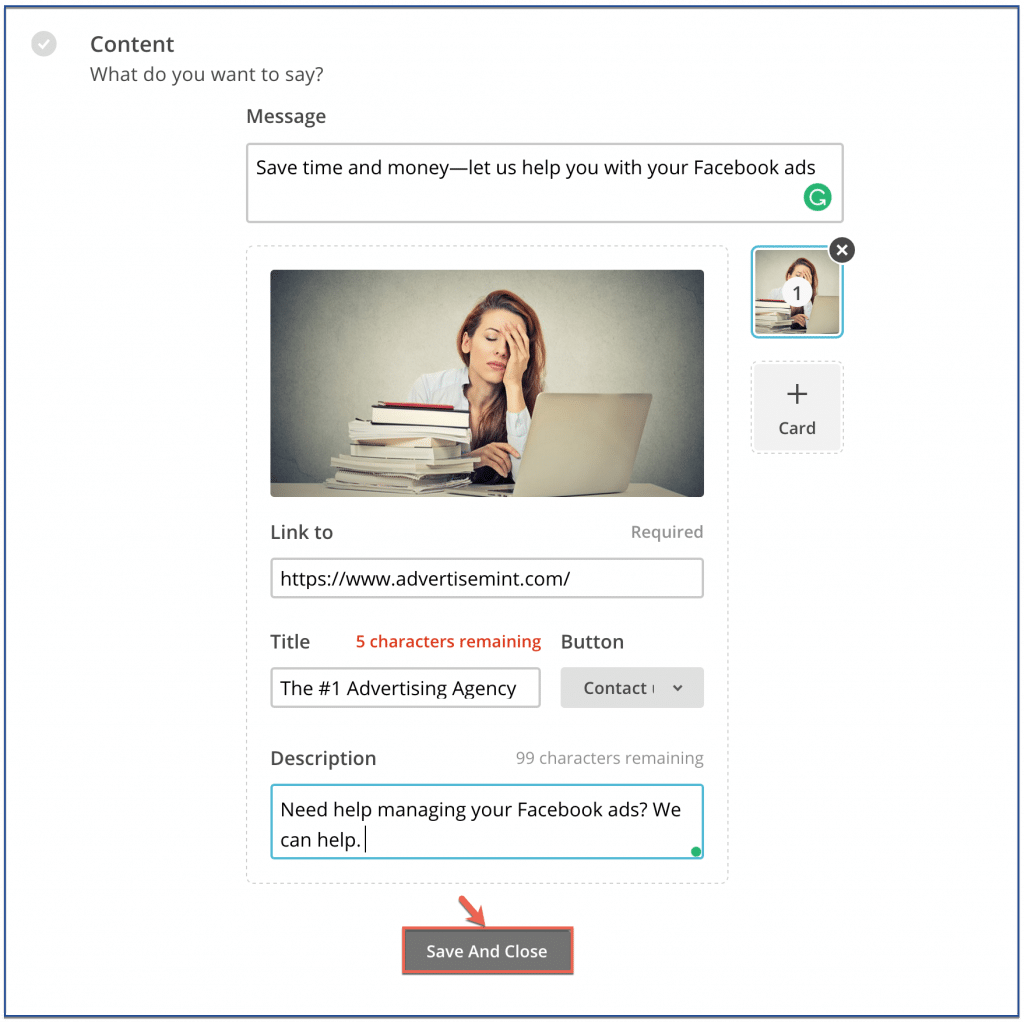
Step 8: Write your copies
When writing copies for your ad, keep your message concise: get to the point quickly by including only the most important part of your message.
Step 9: You’re done!
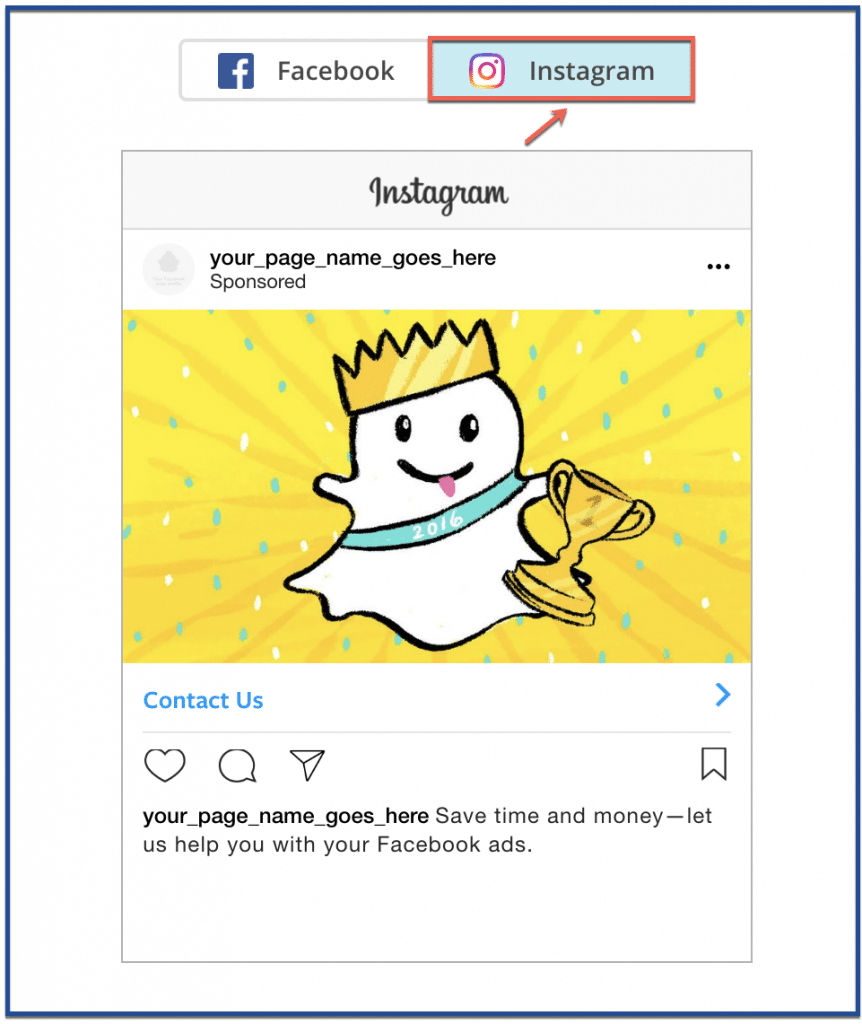
You can preview your ad once you’re done. Click “Facebook” for a preview of the Facebook ad and click “Instagram” for a preview of the Instagram ad.
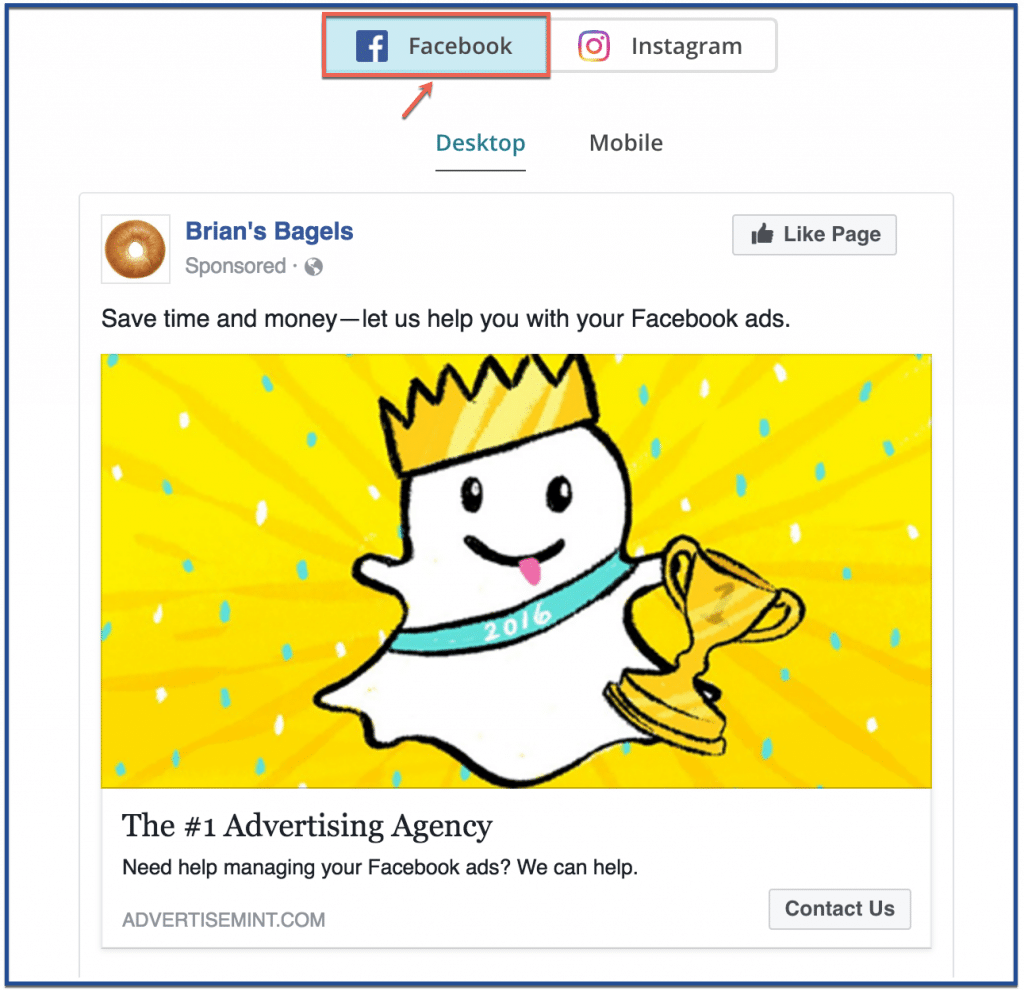
After you previewed your ad, click “Submit Ad” to activate your ad.
