There are many times when custom audiences prove to be very useful when implementing Facebook ads as a tactic in your marketing strategies. This tool lets marketers upload a list of contacts using email, Facebook UIDs, phone numbers, etc to the social network. Then this tool matches them with their personal Facebook user ID and allows us to highly target your ads specifically to them. You can build audiences from the people that visit your website or from people who use your mobile app as well. Now for the fun part, how to create custom audiences.
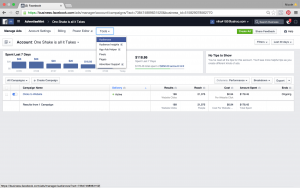
First! — Go into your account under Ads Manger. Got it? Great!
Now, click on the tab on top that says “tools”. That’s it. Easy, right? Well, if not, I am going to illustrate this for you as well. Simply because our team here at Advertisemint has always got your back.
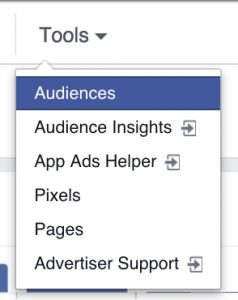
Great, once you have found the tools tab you now need to navigate to the button that says “Audiences.” See the blue highlighted button? Yep, click it! Once you do that, this page will appear before your eyes.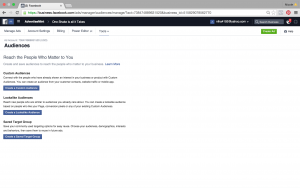

You are going to want to click on the button that says, you guessed it; “Create a Custom Audience.” Alright, next page.
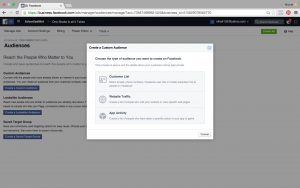
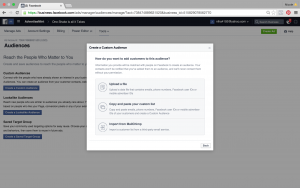
There is a list that pops up. Its asking you what type of audience you would like to create. Simply ask yourself what kind of data you have to implement and go from there. Are you looking to build a Customer List off of phone numbers and emails you may have gathered from recent or past customers? How about Website Traffic converters to generate a Leads Custom Audience? Maybe, you have a really great App you worked really hard to create and you want to generate an audience based on the people who have already installed it, launched it, and/or (lets hope not) haven’t launched it. Great, now you have an idea of the gold your holding (yes, the data you have to implement) and can choose either Customer List, Website Traffic, or App Activity.

In this post I am going to show you the steps to create a Customer List. After you click Customer List you should now be at the following screen:
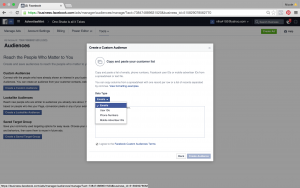
We believe the easiest option is to choose “Copy and Paste your Customer List.”
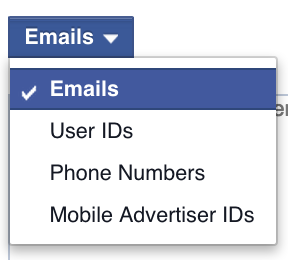
Once you hit that button, you’ll get an empty box like this one where you can then enter in all of your customer data. Notice there are a couple different options of data you are implementing. Simply click the correct type of data you are going to be pasting into the box.
Note: If you’re going to use a customer list and want to upload it as a file, it must be a .CSV Excel file with a single column of data and no heading.
Once you have gotten your data inserted, check the box (I know, I know) “I agree to the Facebook Custom Audience Terms” and hit “Create Audience.” Boom, you’re done!
It may take about 30 minutes for your Custom Audience to upload to Facebook. You will be notified as soon as the upload has been completed. Once you get the notification be sure to follow up with an email to let us know you have completed your custom audience and we will take it from there.
Awesome! I bet that feels great. We’d love to take on as much of the tech work as possible while managing your ad’s so you have absolutely nothing to worry about BUT, on that note we do realize much of your customer information is sensitive and classified and we respect that. Thank you for taking the time to set up your custom audience we firmly believe this tool will generate great results.
Cheers!
