
As previously mentioned, Snapchat launched Ad Manager, its imitation of Facebook’s ad management dashboard, Business Manager. Unlike Business Manager, however, you must contact one of Snapchat’s representatives and request access to the dashboard. Once the representative determines that your agency is reputable, that you have a good budget, and that you have enough lucrative clients, you will receive an invitation via email.
A few days ago, AdvertiseMint gained access to Snapchat’s Ad Manager, much to our excitement. As we navigated through the dashboard, which is more user-friendly than Facebook’s, we took screenshots for you to reference when you gain access to Snapchat’s Ad Manager.
The first step in Snapchat advertising is creating an account. Here’s how you do it.
Step 1: Accept Snapchat’s invitation to advertise
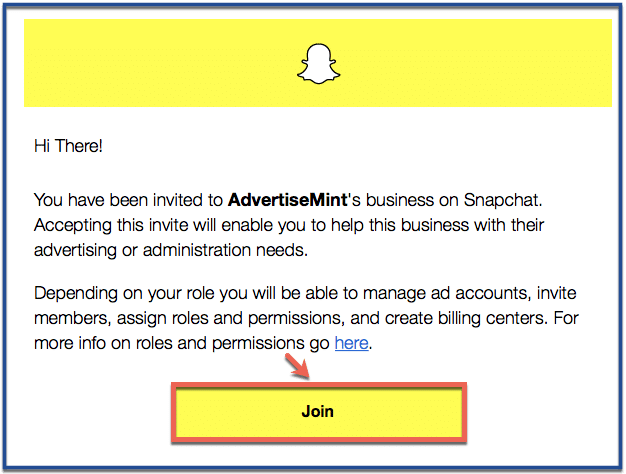
Snapchat’s invitation will contain a link that leads you to Snapchat’s login page. Click “Join” to log in.
Step 2: Log in
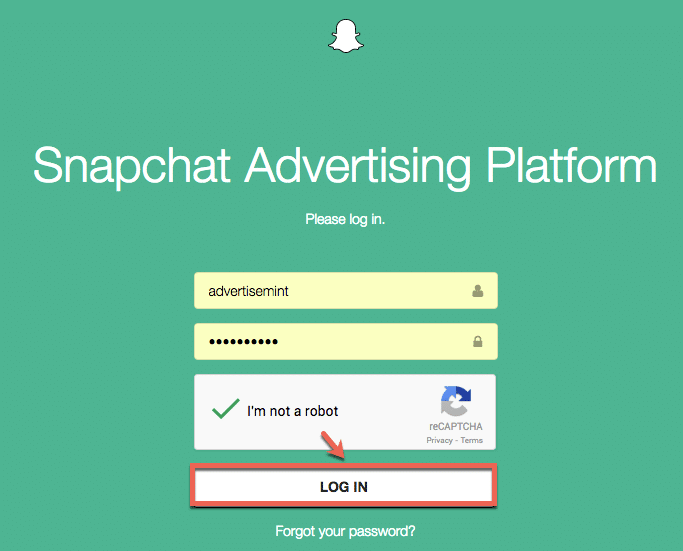
You must log in with your agency’s Snapchat account. If you don’t have a Snapchat account, you must create one; otherwise, you will not be able to advertise on Snapchat.
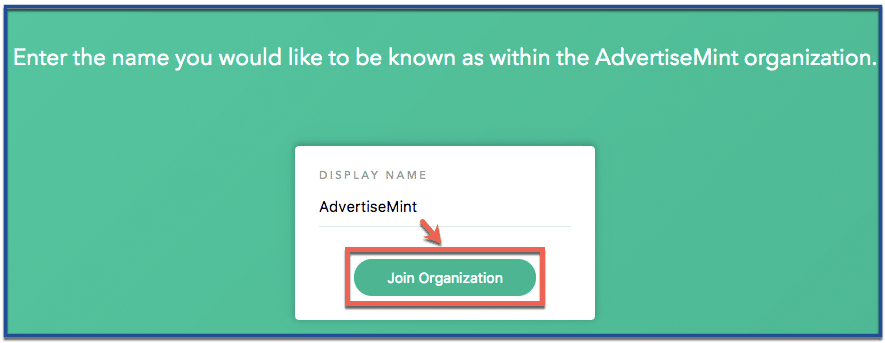
Step 3: Give your Ad Manager a name
Use your agency’s name when you give your Ad Manager a name.
Once you’ve successfully joined, you will receive this confirmation message.
Step 4: Go to business.snapchat.com
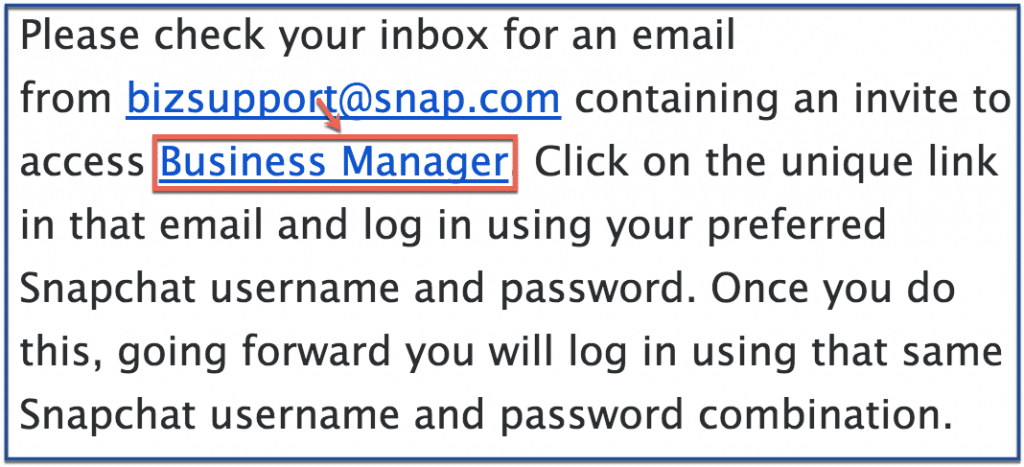
You will not be able to access Ad Manager from the confirmation page. Instead, you will need to revisit one of Snapchat’s emails to you. The first email Snapchat will send to you contains the link to log in. The second one will contain a link to the dashboard. Click the hyperlink “Business Manager” to access Snapchat’s Ad Manager dashboard.
Step 5: Add billing information
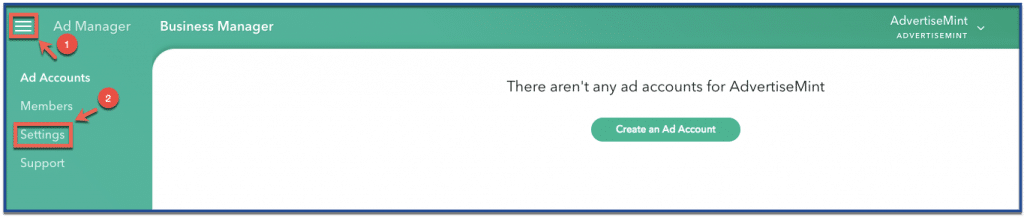
Before you can create an ad account, you must first add your billing information. This is a required step that you must do before you create an ad account; otherwise, Snapchat will not let you proceed. To add billing information, click the three-lined hamburger icon on the upper left side of the screen. Then click “Settings.”
Step 6: Click “Billing Center”
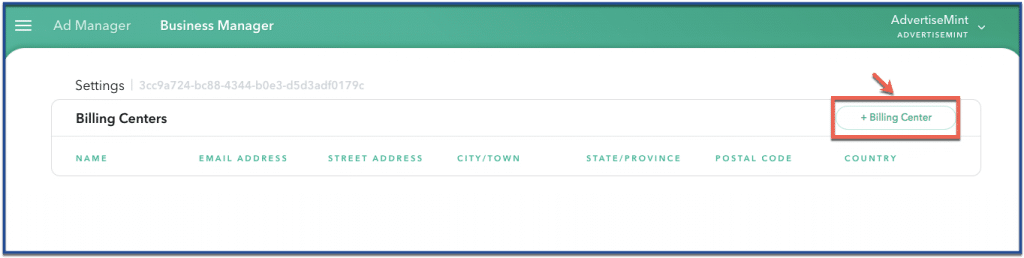
Click the “Billing Center” button on the upper right corner of the screen.
Step 7: Add billing information then click “Save.”
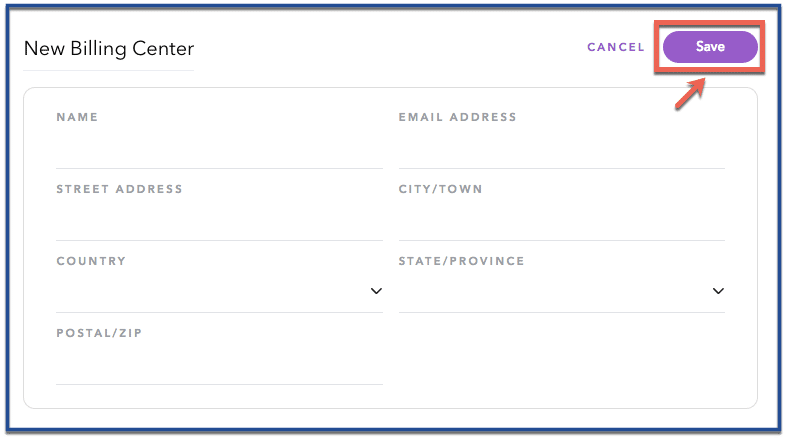
Add your billing information. This is the information Snapchat will refer to when it bills you for your ads. Afterward, click “Save.”
Step 8: Return to Business Manager
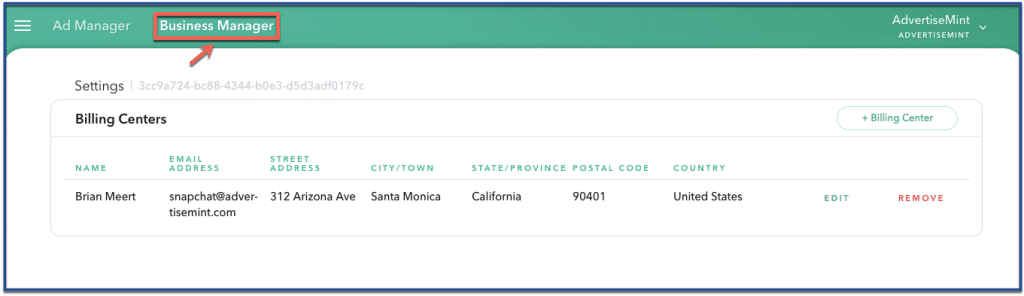
Click the Business Manager tab to return to Business Manager.
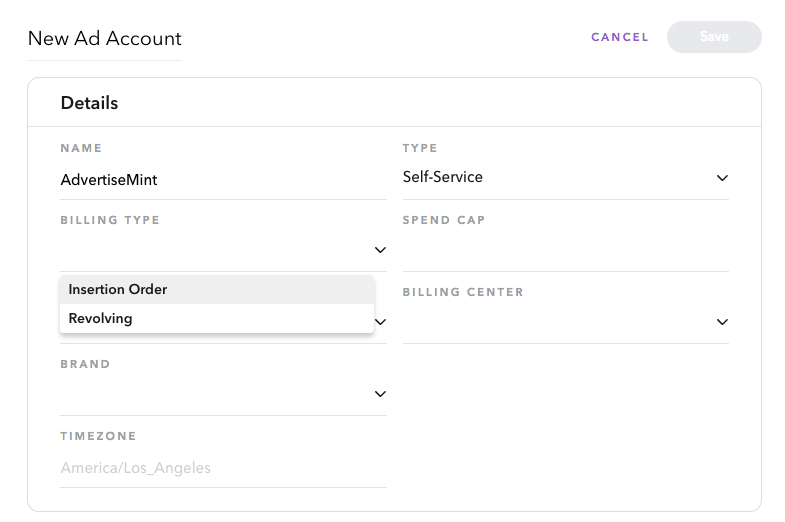
Step 9: Enter requested information then save
You will have two options for billing type: insertion order and revolving order.
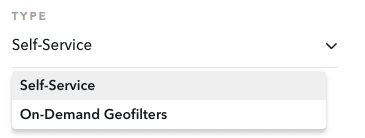
Then you will have two options for advertising types: self-service and on-demand geofilter. Self-service allows you to place your own ads without the aid of a sales representative while the on-demand geofilter option allows you to place orders on geofilters.
Step 10: You’re done!
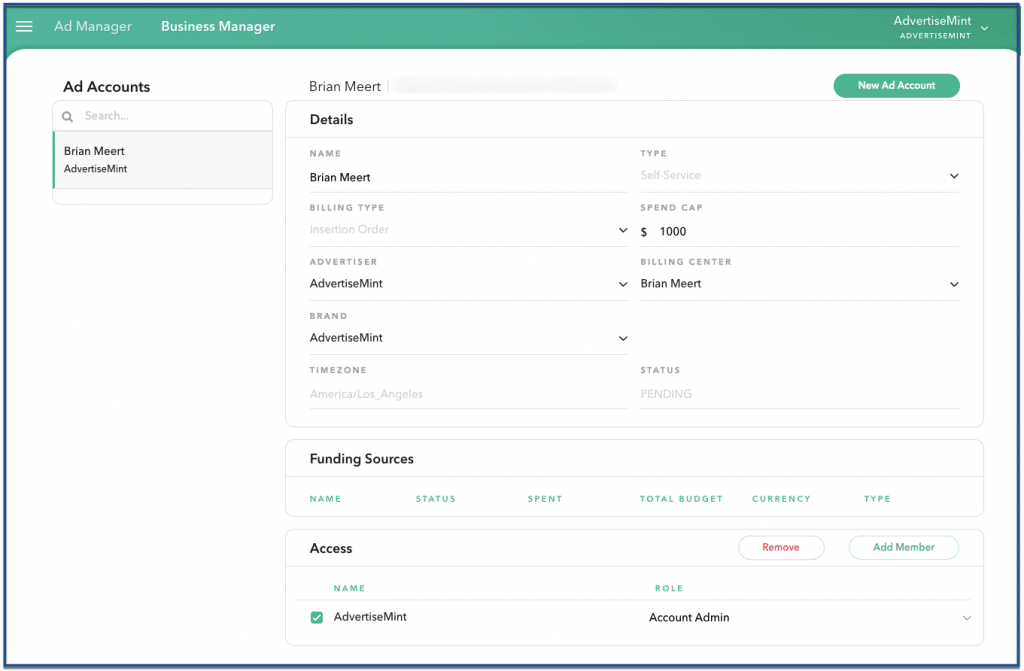
Your new ad account should appear on this screen.
Now that you’ve created your Snapchat ad account, the next step is to invite new members to collaborate with your account.

