Facebook has been a game-changer for businesses seeking to connect with their audiences and drive tangible results. With the advent of online advertising, tracking the impact of these efforts on real-world actions like in-store purchases or phone inquiries has remained a challenge.
Facebook’s Offline Events on Ads Manager is another innovation that bridges the gap between online engagement and tangible results. In this blog, we’ll explore Offline Events on Ads Manager, its significance for advertisers, and how it can enhance your advertising strategies.
Table of Contents
What are Facebook Offline Events?
Facebook Offline Events on Ads Manager is a feature that allows advertisers to track and measure the impact of their online ad campaigns on offline actions or events.
These offline events are actions that customers take in the physical world, such as making in-store purchases, calling a business, booking appointments, or visiting a physical location, after engaging with online ads on Facebook platforms.
The Offline Events feature helps bridge the gap between the online and offline customer journey. It gives advertisers a more comprehensive understanding of how their digital advertising efforts translate into real-world results.
How do Offline Events on Ads Manager work?
To use Offline Events on Ads Manager, businesses need to first connect their offline data to their Facebook Ads Manager account.
This can be done by uploading a file of offline data or by connecting their business to a third-party data provider. Once the offline data is connected, businesses can then create and manage Facebook ads that are targeted to people who have recently visited their stores or made purchases from their websites.
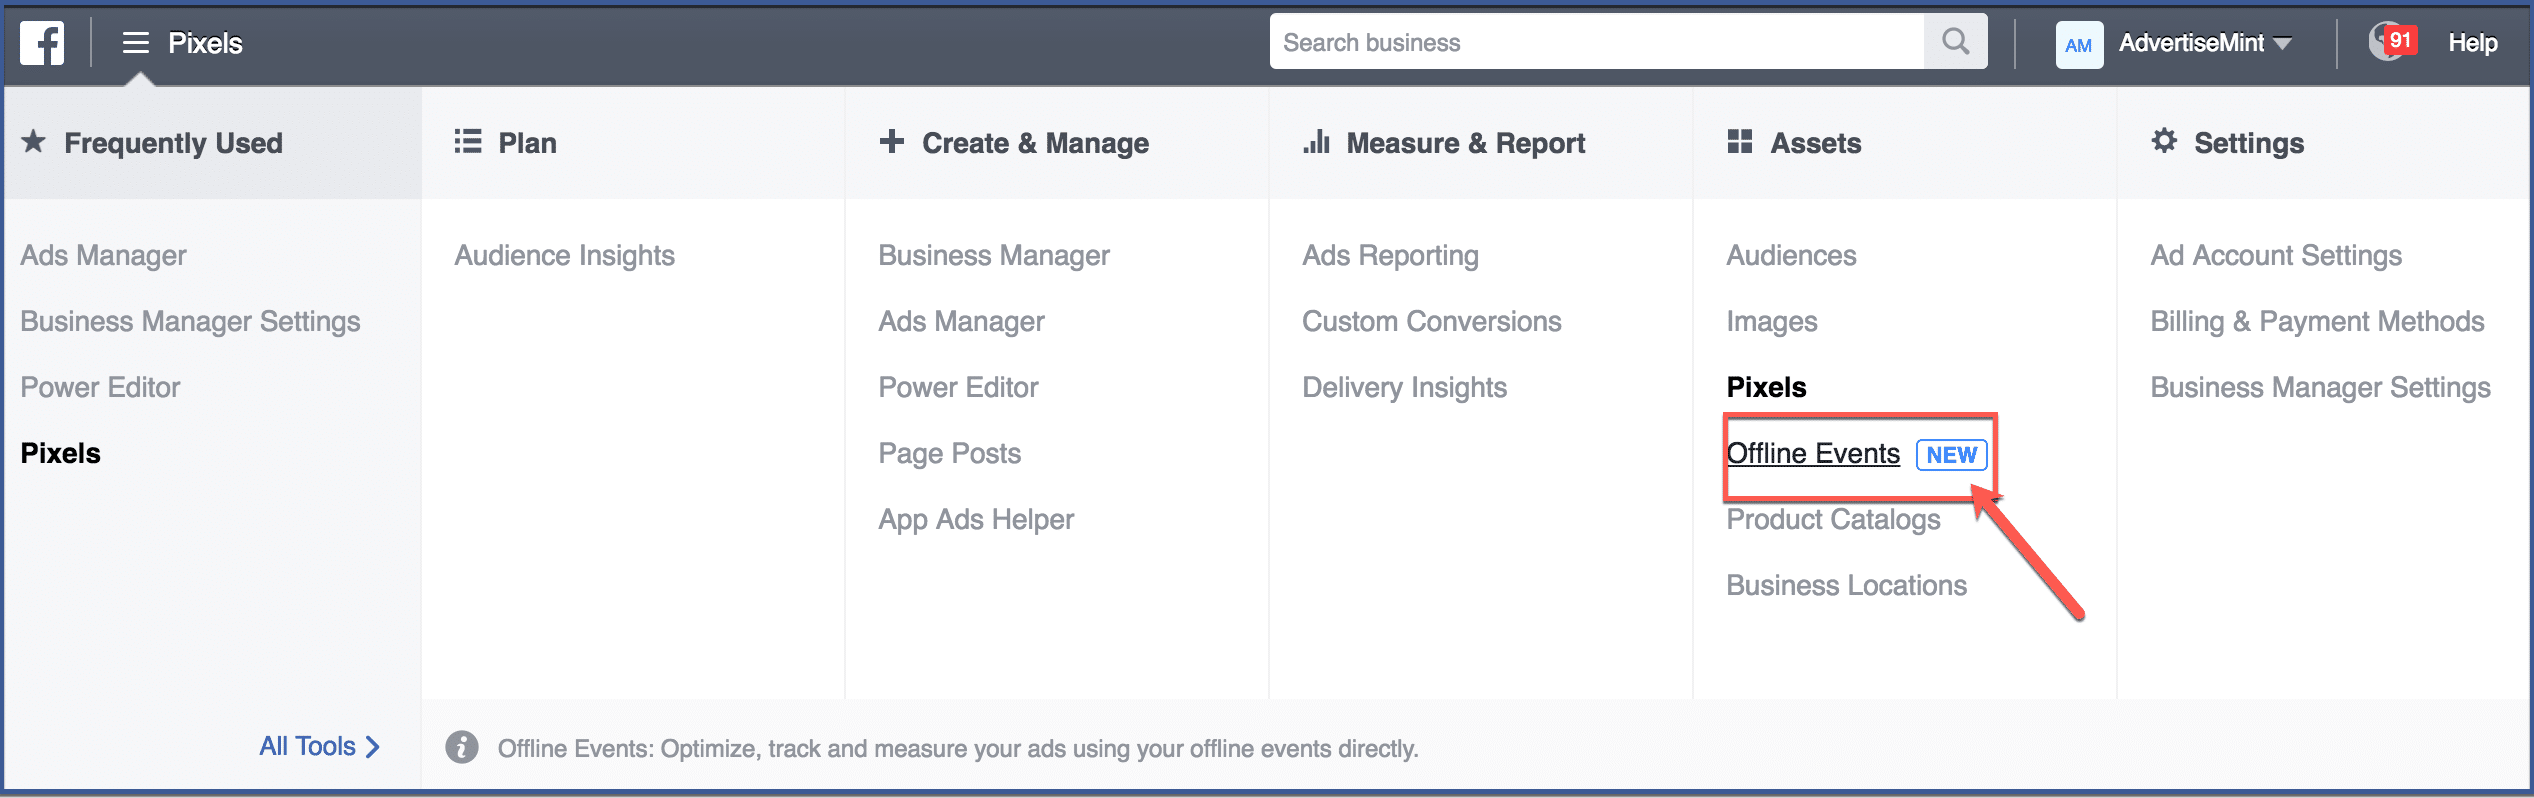
Step 1: Click Offline Events
On your Business Manager at facebook.com, click “Offline Event” located under “Pixels“.
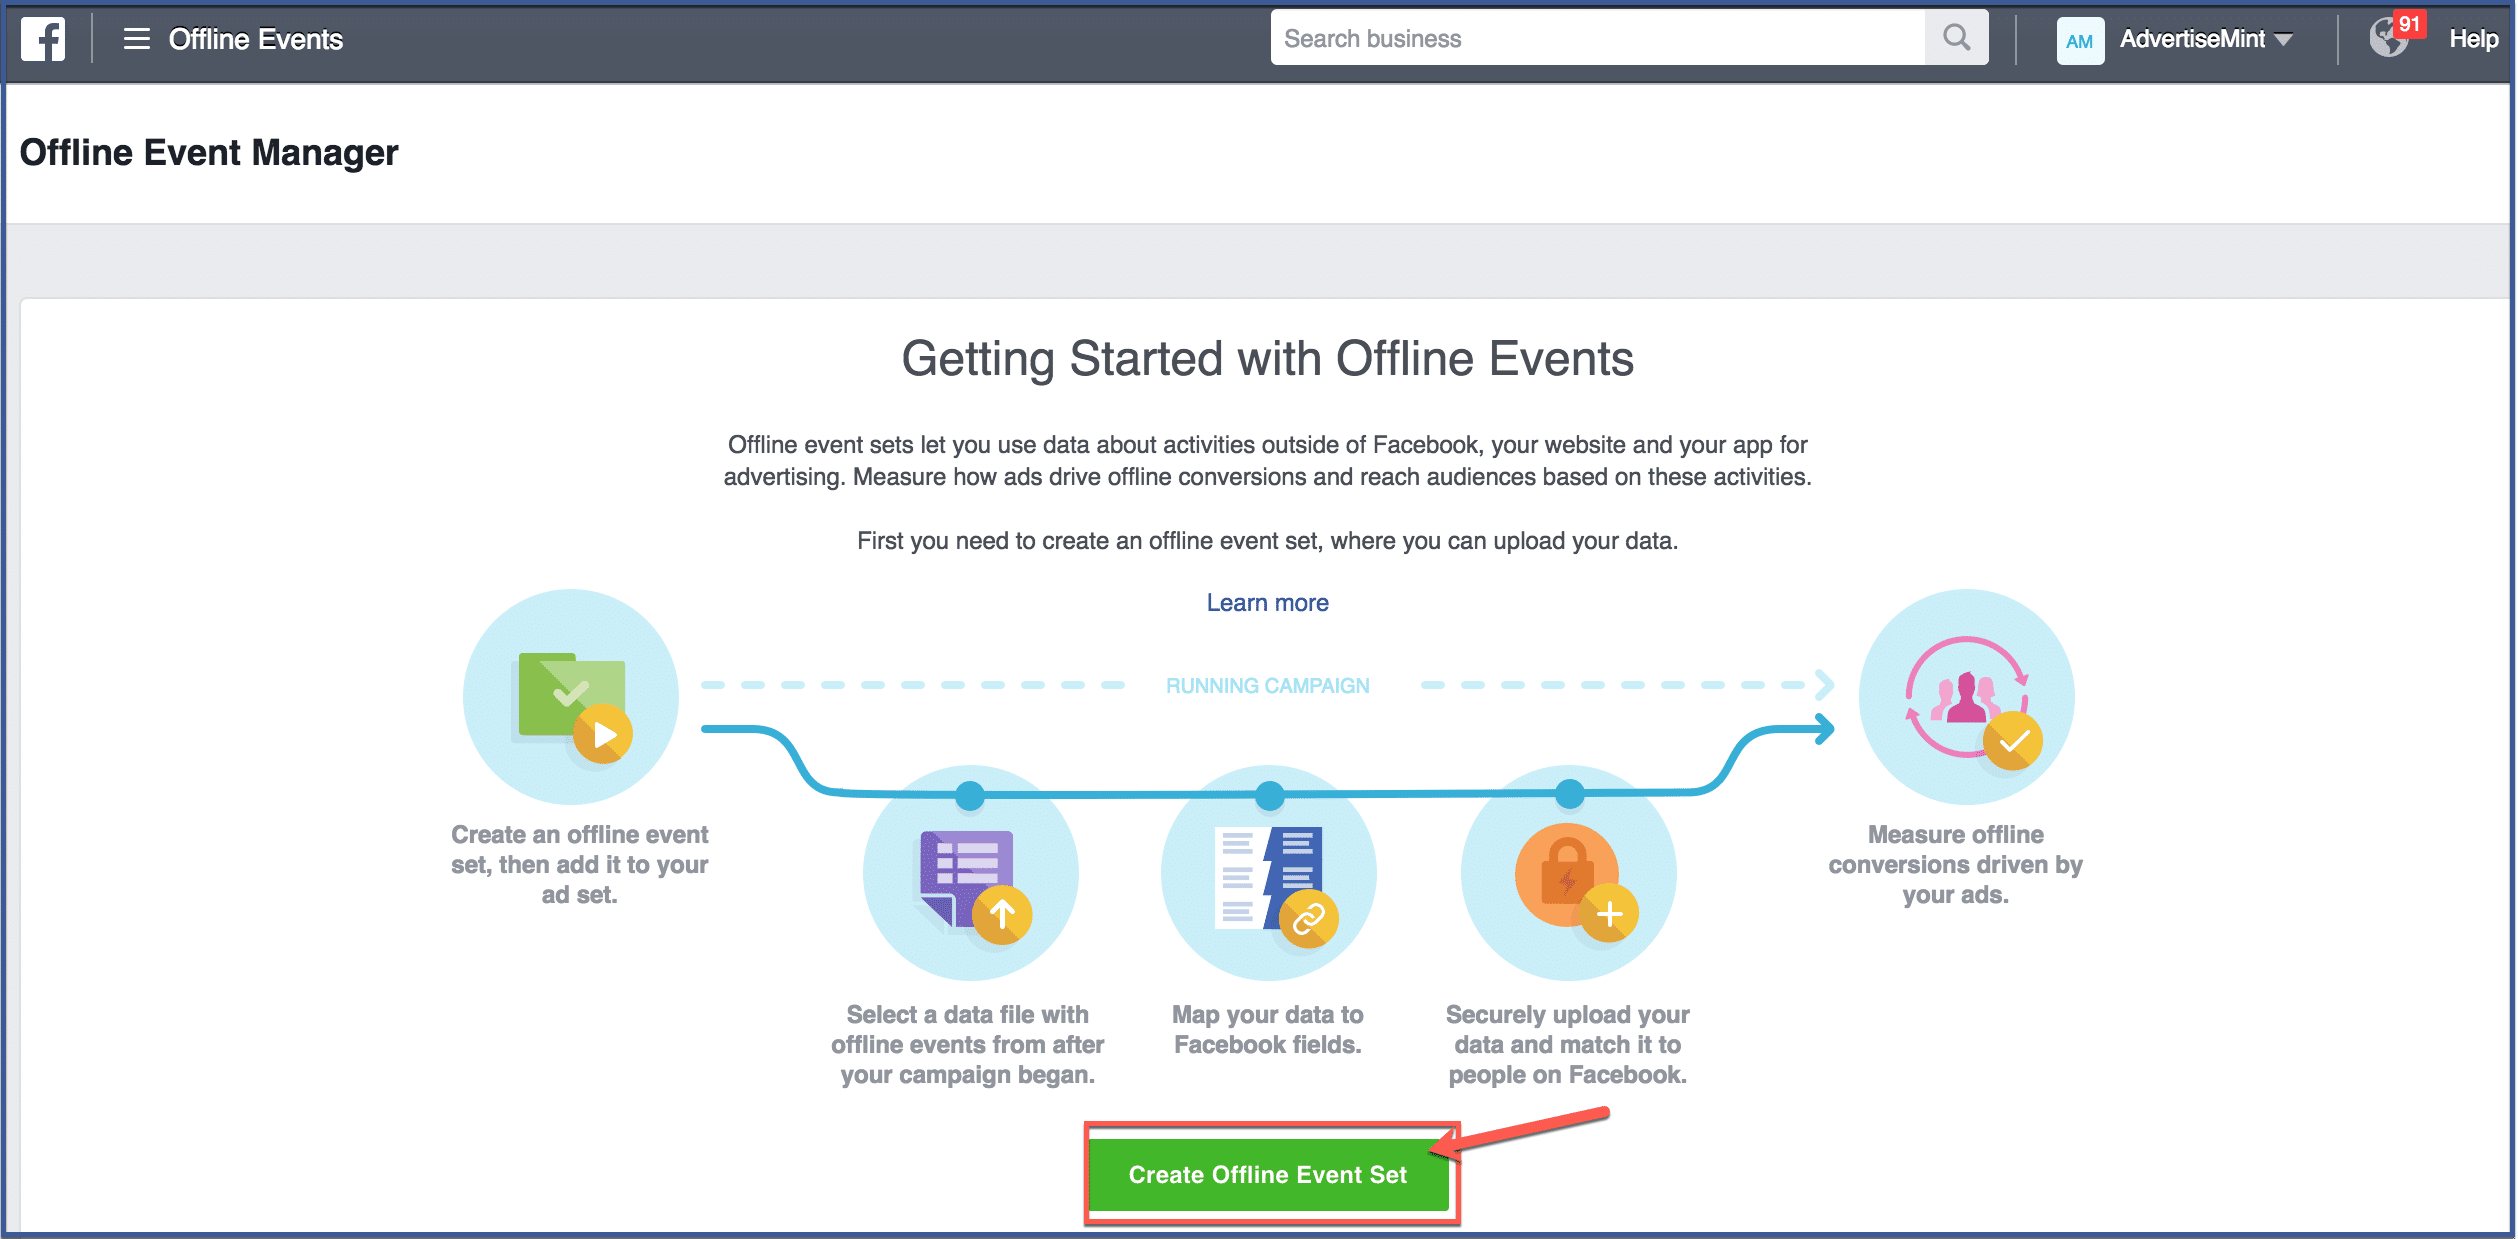
Step 2: Click Create Offline Event Set
Click “Offline Event Set” to get started.
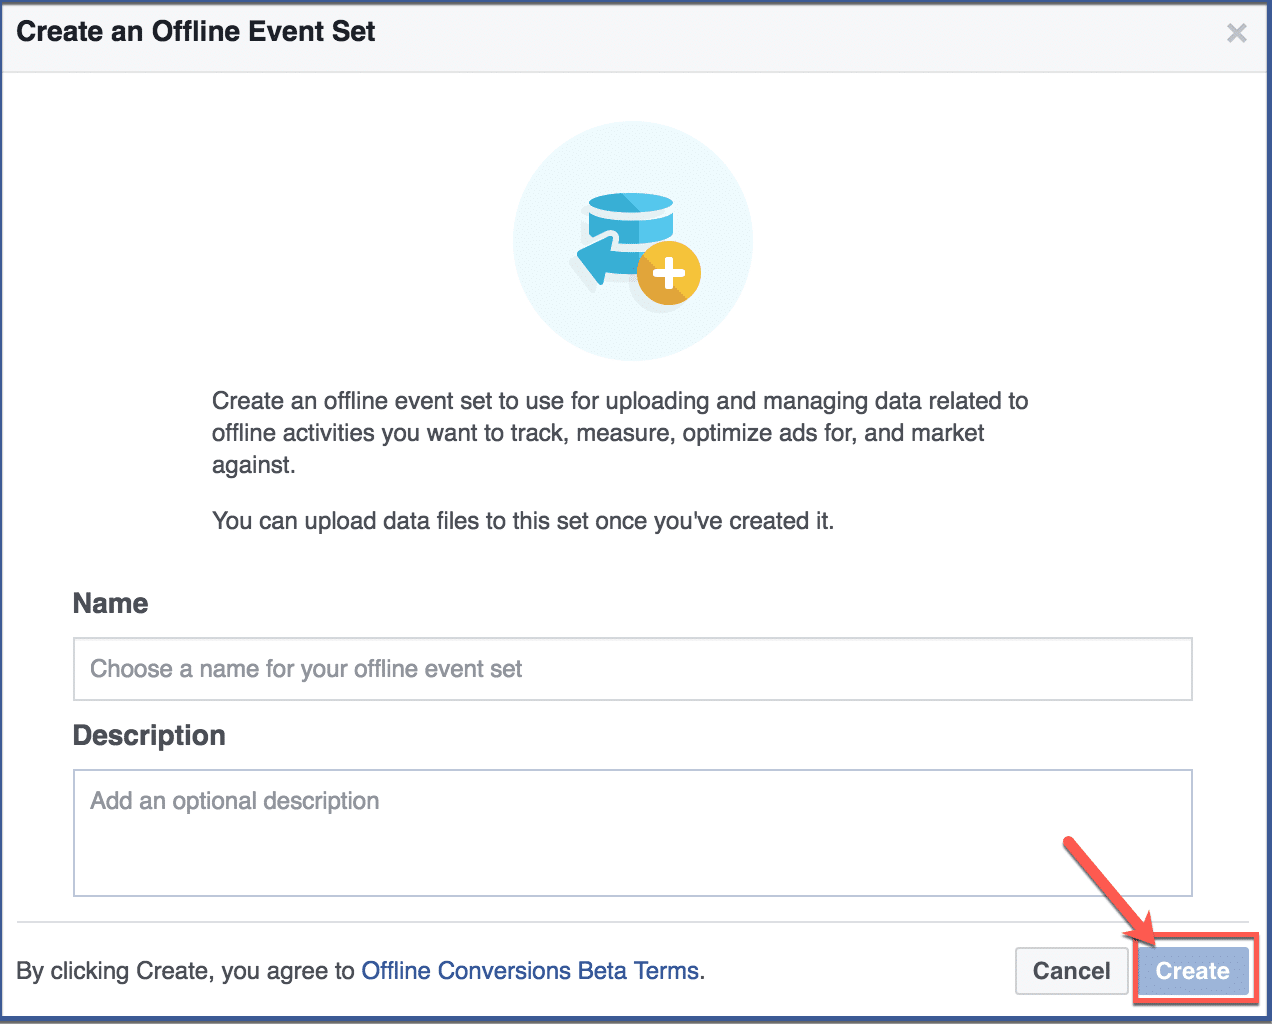
Step 3: Choose an Event Set Name
Choose a name for your event set and include a description. Then click “Create“.
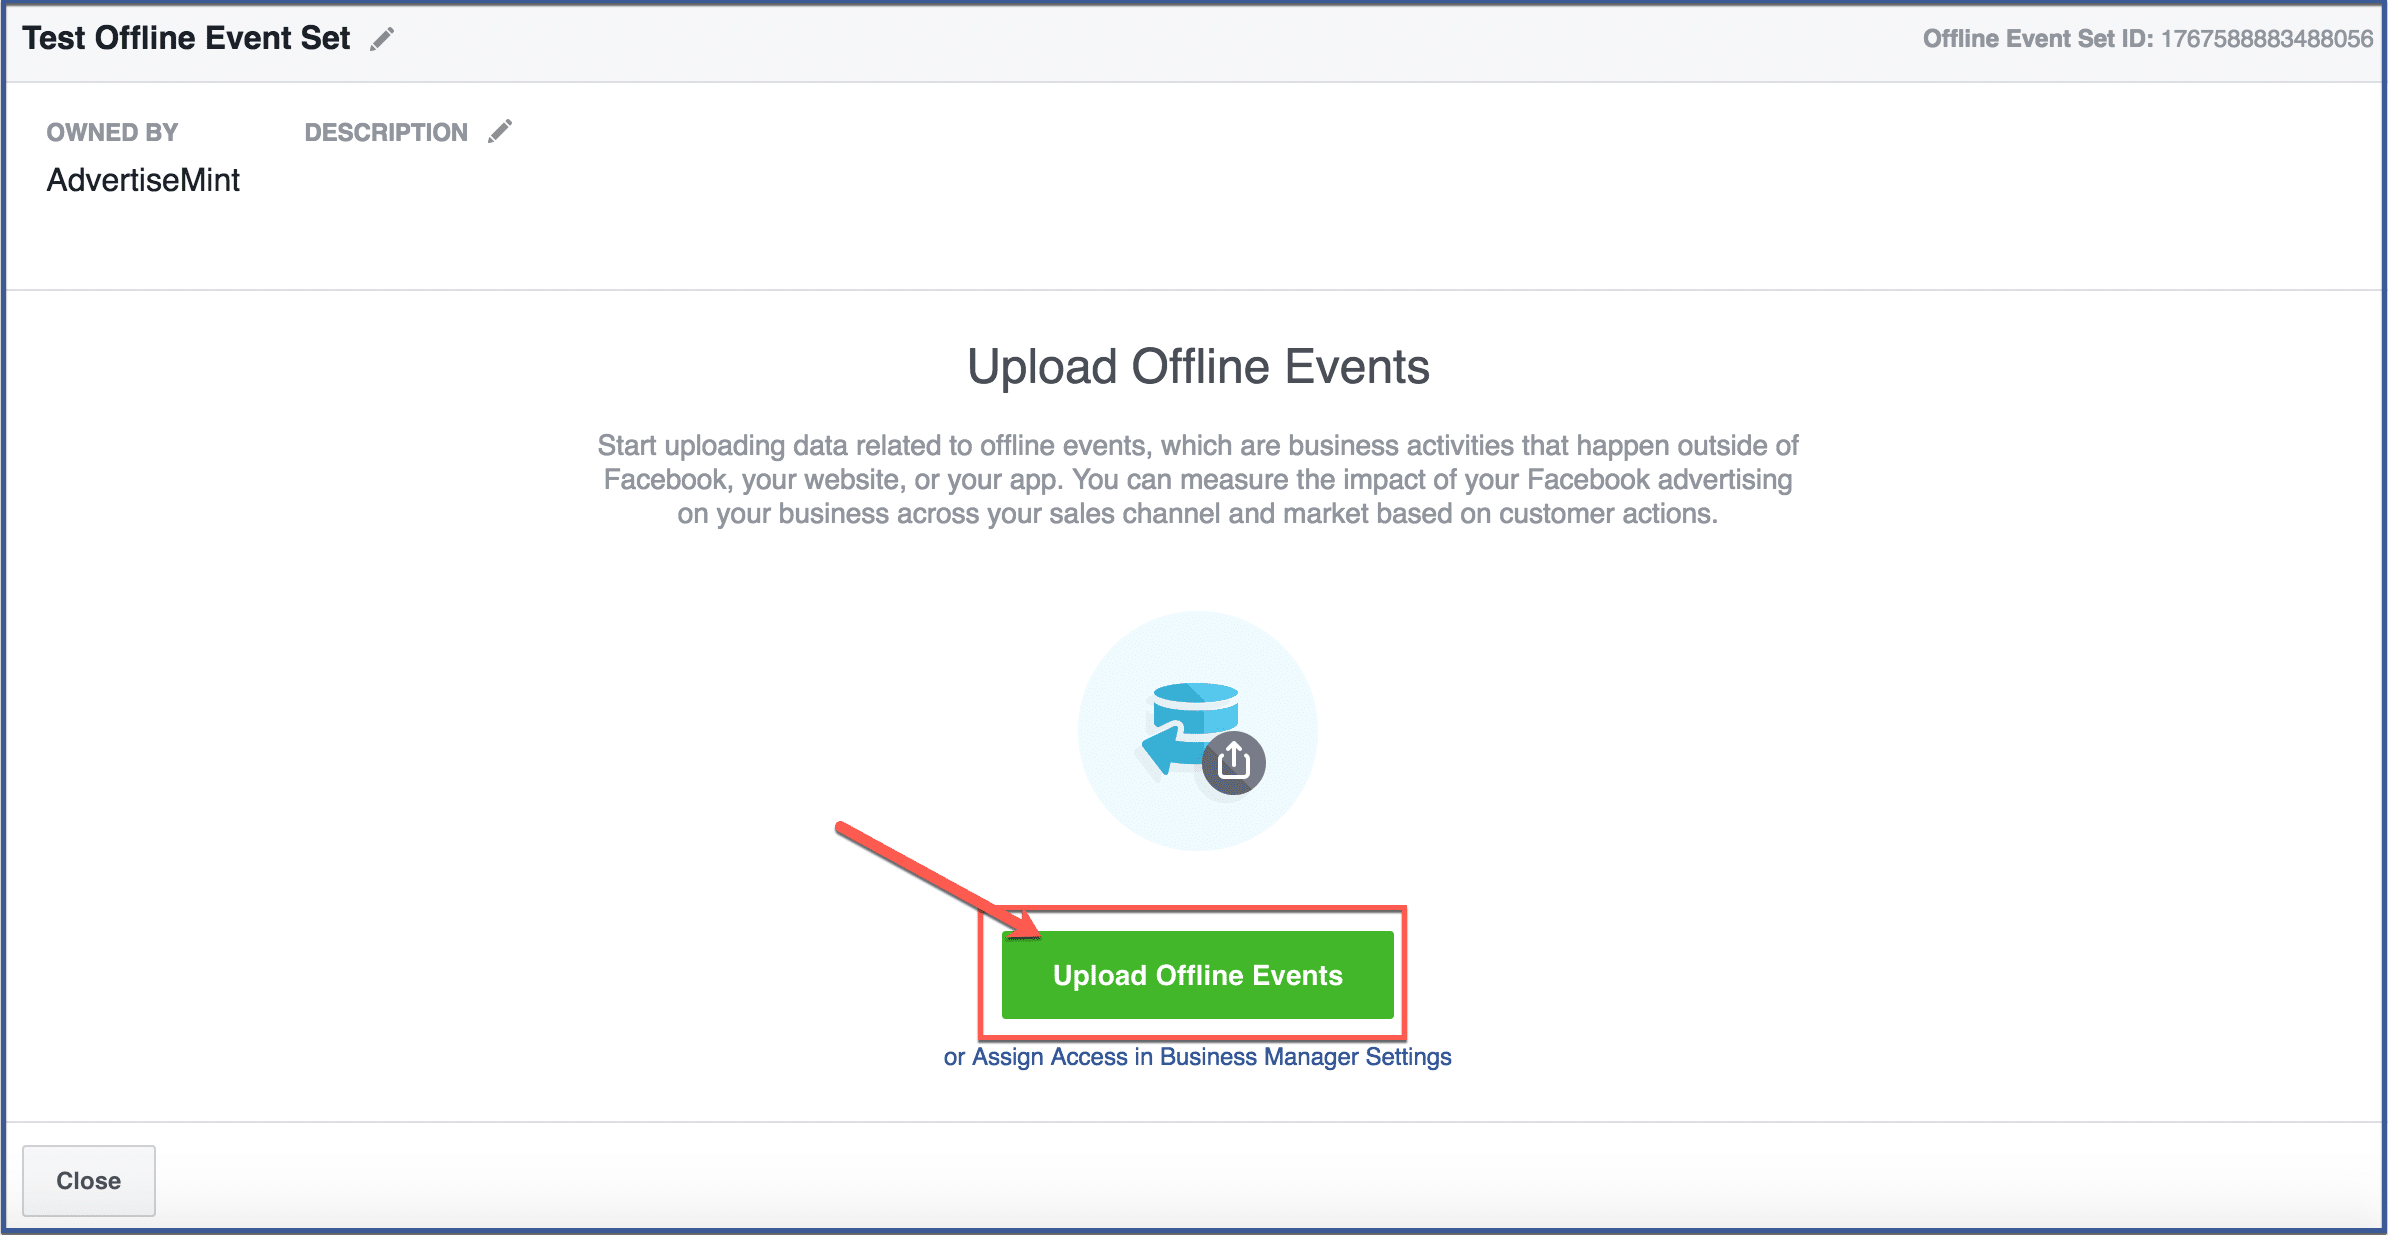
Step 4: Upload Offline Events
Upload your contact list to offline events by clicking “Upload Offline Events“.
Step 5: Upload File
Choose a file to upload then click “Next“.

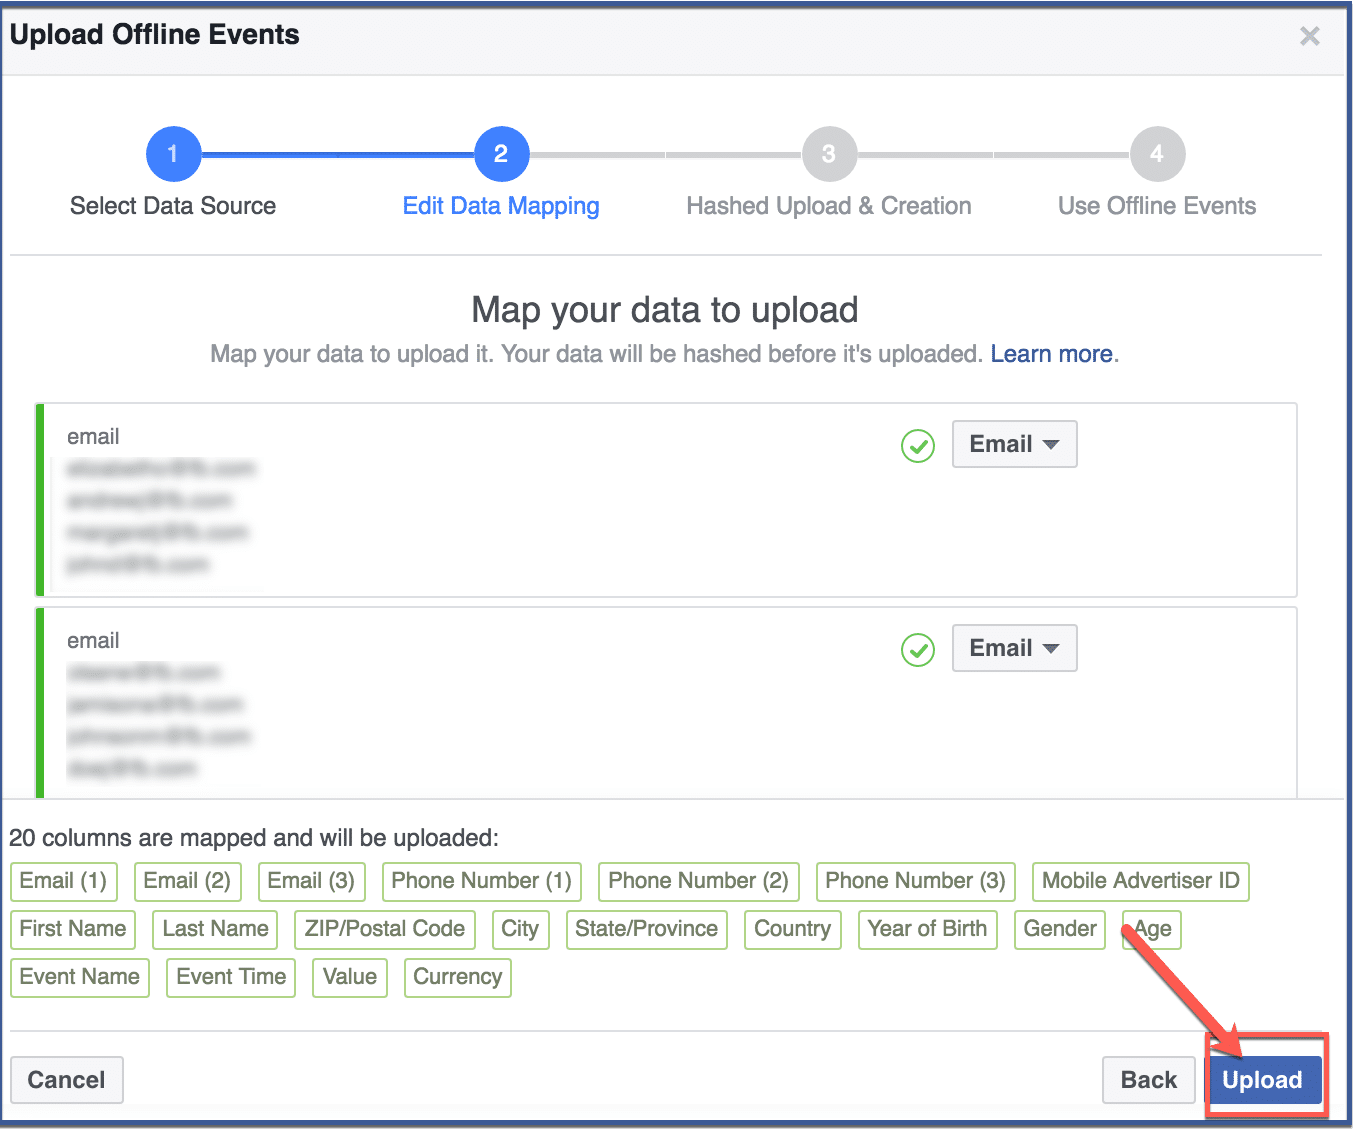
Step 6: Click Upload
To upload your contact list, click “Upload“.
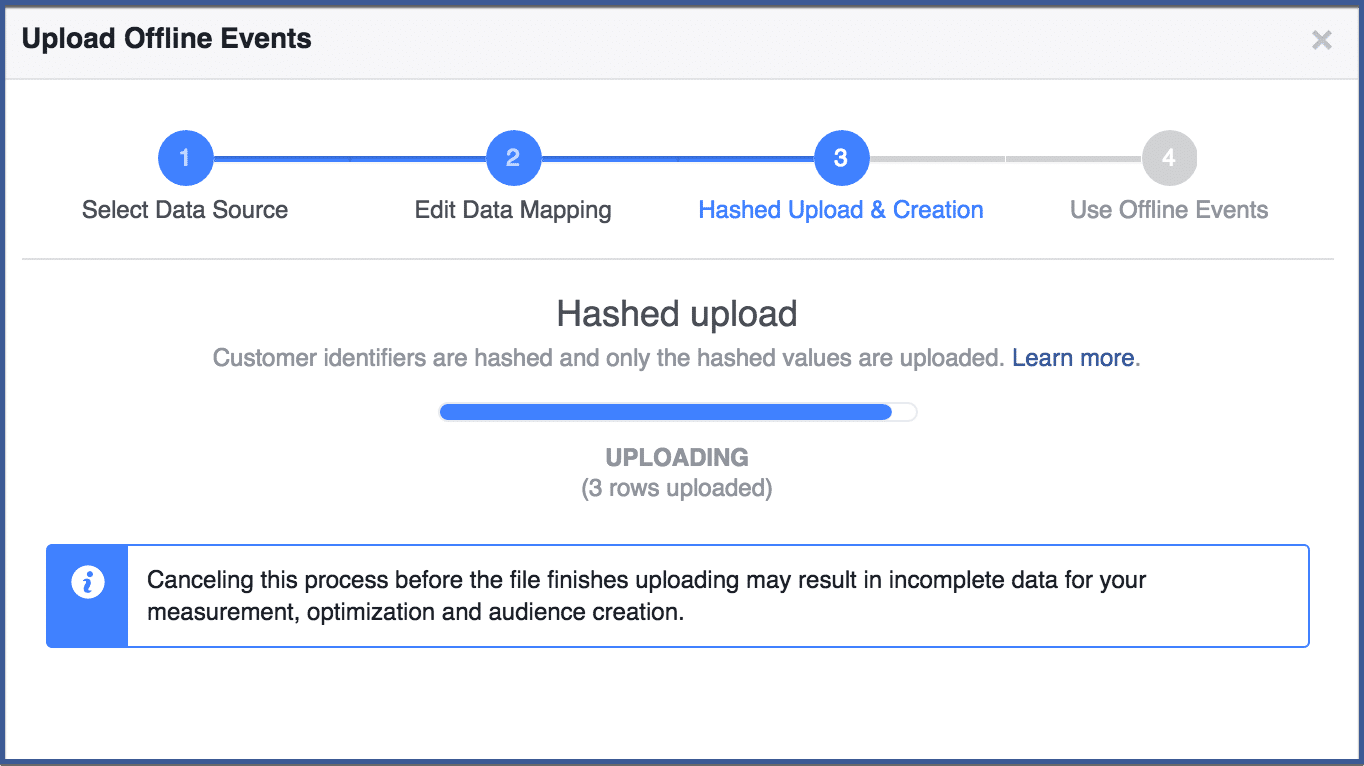
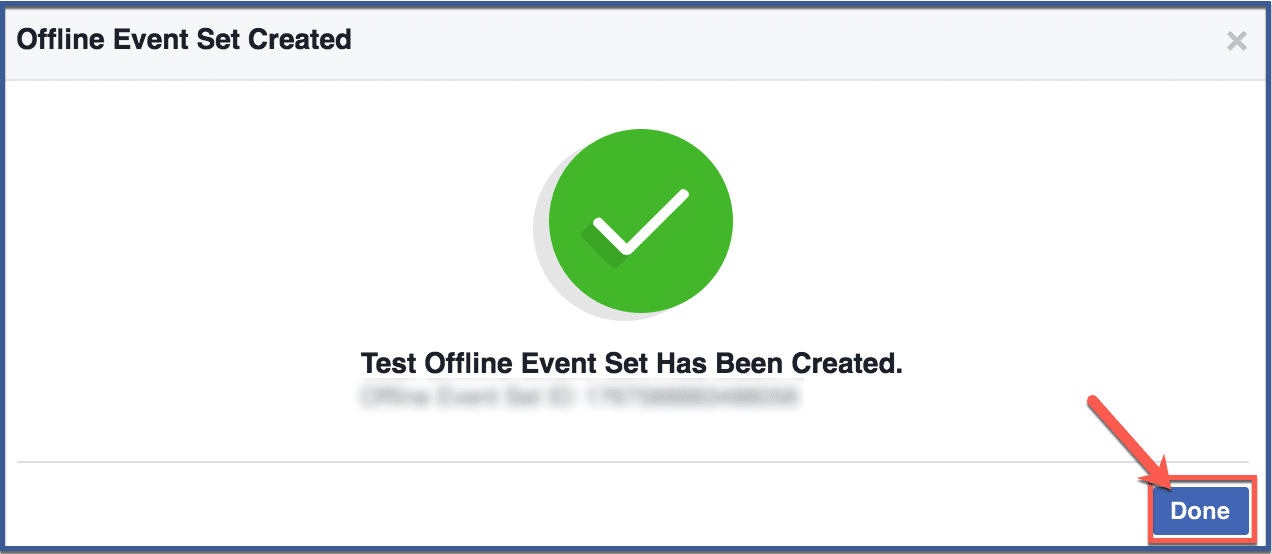
Step 7: Click “Done”
After your data uploads, which may take some time depending on the file’s size, click “Done” to continue.
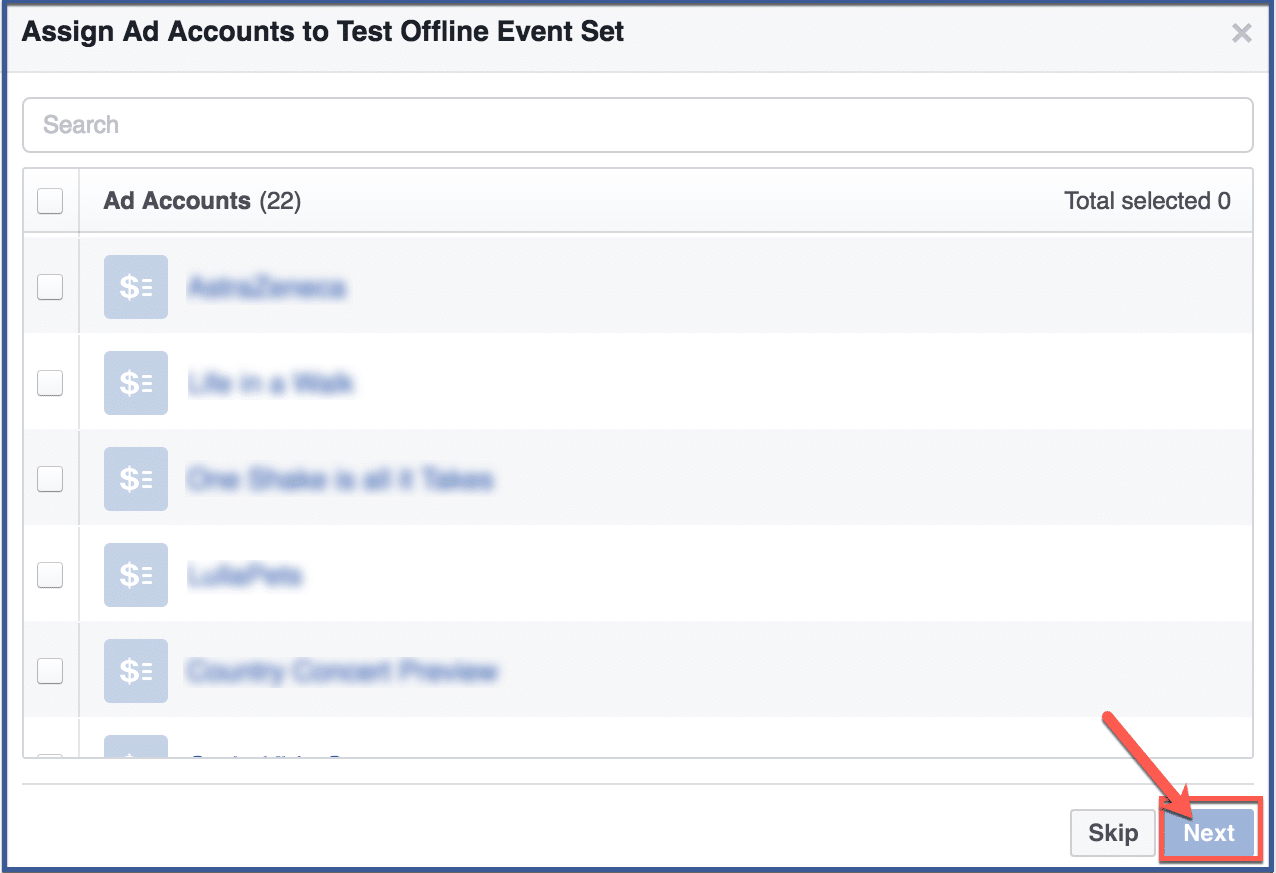
Step 8: Assign ad accounts (optional)
To test the offline event set, choose an ad account. You can choose multiple accounts. Then click “Next“. If you choose to skip this step, click “Skip“.
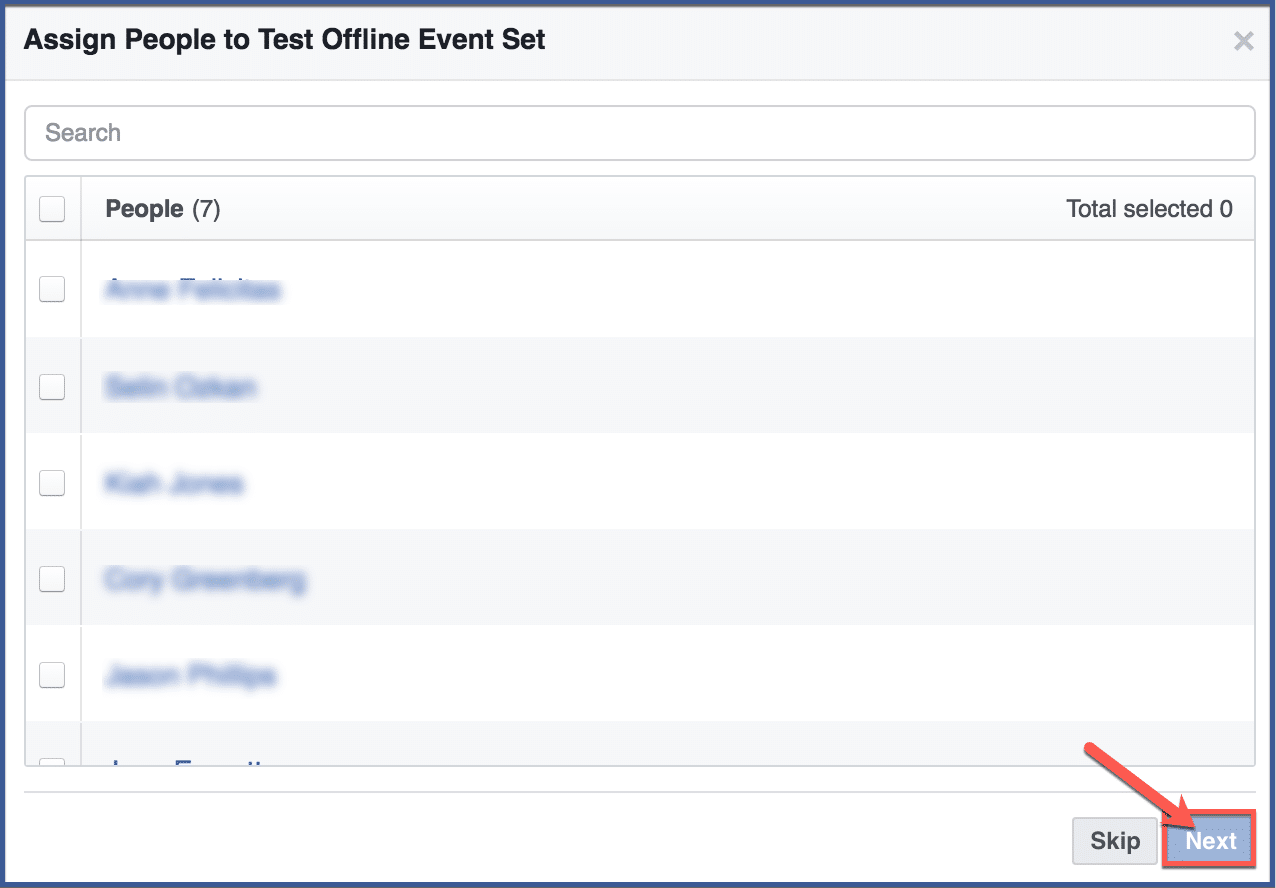
Step 9: Assign people (optional)
Assign people to test your offline event set. Click “Next” afterward. If you choose to skip this step, click “Skip“.
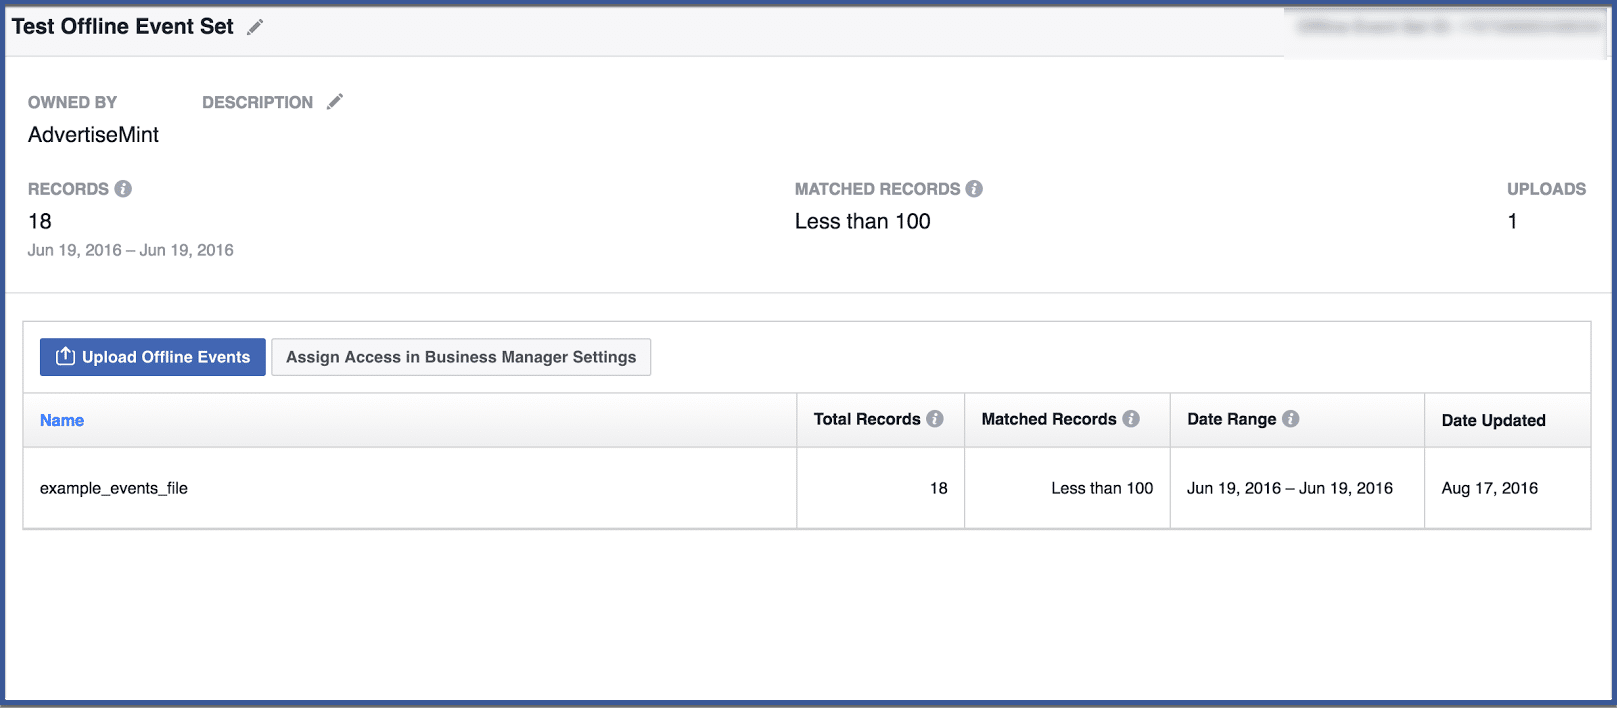
Step 10: You’re done!
Click “Done” to finish. Doing so should take you back to the offline event set page where you can see your uploaded offline event set.

Benefits of Using Offline Events on Ads Manager
The introduction of Offline Events on Ads Manager comes with several compelling benefits for advertisers:
- Accurate Measurement: Perhaps the most significant advantage is the ability to measure the actual impact of your online campaigns on offline actions. This accuracy helps you determine the true return on ad spend (ROAS).
- Enhanced Campaign Optimization: You can fine-tune your advertising strategies with insights from Offline Events. Identify high-performing ad creatives, audiences, and placements to maximize results.
- Real-World Insights: Gain a deeper understanding of your customers’ real-world behavior. This knowledge can inform product development, inventory management, and other business decisions.
- Cost Efficiency: By optimizing your campaigns based on offline event data, you can allocate your budget more efficiently, focusing on strategies that deliver tangible results.
Enhancing Ad Campaign Effectiveness
Offline Events tracking can potentially transform how you approach your ad campaigns. Here’s how it enhances campaign effectiveness:
- Identify Top-Performing Campaign Elements: By understanding which ad creatives, targeting options, and placements drive the most offline actions, you can allocate your resources where they matter most.
- Refine Audience Segmentation: Use insights from offline events to segment your audience effectively. Create custom targets that are more likely to convert offline based on their online behavior.
- Tailored Messaging: Craft ad content that speaks directly to individuals who are likely to take offline actions. Personalize your messages based on their online interactions.
- Measure True ROI: No more guesswork. With Offline Events tracking, you can measure your online ad spend’s actual return on investment, helping you make data-driven decisions.
Maintaining Privacy and Compliance
It’s important to address concerns about data privacy and security when discussing Offline Events tracking. Facebook has implemented measures to ensure the secure handling of customer data. Advertisers are required to adhere to privacy regulations and use the provided tools to maintain the privacy and security of user information. Transparency in data usage and privacy settings is paramount.
Conclusion
Facebook Offline Events on Ads Manager is a useful option that business firms can use to improve their marketing campaigns. By tracking offline events, businesses can see how their marketing campaigns drive in-store visits, sales, or other desired outcomes.
Frequently Asked Questions
What are Offline Events?
Offline events are any events that happen outside of the digital world. This could include things like in-store visits, store sales, or product purchases. Offline events can be a valuable source of data for marketers, as they can help to track the effectiveness of Facebook ads and to measure ROI of marketing activities.
Who can use Offline Events on Ads Manager?
Facebook Offline Events on Ads Manager is available to businesses that have a Facebook Ads Manager account and that have the necessary technical expertise to set up and use this feature.
What types of offline actions can be tracked using Facebook’s Offline Events on Ads Manager?
Facebook’s Offline Events tracking covers a range of offline actions, including in-store purchases, phone inquiries, appointments booked, and visits to physical locations. These actions represent real-world interactions that customers take after engaging with online ads.
What is Facebook Ads Manager?
Facebook Ads Manager is a tool that businesses can use to create and manage Facebook ads. It allows advertisers to track the performance of their ads, measure their ROI, and target their ads more effectively.
How can I ensure data privacy and security while using Offline Events?
Facebook is committed to data privacy and security. Advertisers can integrate their offline data sources while adhering to privacy regulations. Facebook provides tools and measures to ensure secure data handling and compliance. It’s essential for businesses to be transparent about data usage and to follow best practices to safeguard customer information while utilizing the Offline Events feature.
